How to Repair Clothes With Decorative Iron-On Patches
When it comes to giving your favorite garments a new lease on life, decorative iron-on patches can be a game-changer. From reviving an old pair of jeans to adding a touch of personality to a plain jacket, these patches offer a simple way to refresh your wardrobe. But before you dive into the world of patching up your clothes, there are a few key steps to keep in mind to ensure a seamless and stylish result.
“Express Yourself with Custom Patches” – Start Designing
Key Takeaways
- Choose iron-on patches that complement garment style for visual appeal.
- Clean fabric thoroughly before patching to ensure adhesion.
- Apply firm pressure with a hot iron for secure patch attachment.
- Consider decorative stitching or fabric glue for added patch longevity.
- Mix textures and pair patched clothing with polished pieces for stylish outfits.
Choosing the Right Iron-On Patches
When selecting iron-on patches for repairing clothes, consider the fabric type and the size of the damaged area. Different fabrics may require specific types of patches to ensure a secure and lasting repair.
For delicate fabrics like silk or lace, opt for lightweight and flexible patches to avoid causing any damage. On the other hand, for sturdier fabrics like denim or canvas, thicker patches with stronger adhesives may be more suitable to withstand wear and tear.
Additionally, the size of the damaged area plays a crucial role in choosing the right iron-on patch. For small holes or tears, select patches that are slightly larger than the damaged area to provide ample coverage and prevent further fraying.
Conversely, for larger damaged areas, consider using multiple patches or a single large patch to effectively cover the entire area and reinforce the fabric.
Preparing Your Garment for Patching
Before you begin patching your garment, it’s essential to properly prepare the area for repair. Start by thoroughly cleaning the fabric around the damaged area. Use a mild detergent and gently scrub the spot to remove any dirt, oils, or residues that could interfere with the patch’s adhesion. Allow the garment to dry completely before proceeding.
Next, carefully trim any loose threads or frayed edges around the tear or hole. This will create a smooth surface for the patch to adhere to and prevent the damage from spreading further.
If the hole is large, you may want to stabilize the area by placing a piece of fabric behind it before applying the patch.
Applying the Iron-On Patches

To successfully apply iron-on patches to repair your clothes, ensure that the damaged area has been properly cleaned and prepared as outlined in the previous steps.
Once your garment is ready, place the iron-on patch over the damaged area with the adhesive side down. Make sure the patch fully covers the damaged area to ensure proper repair.
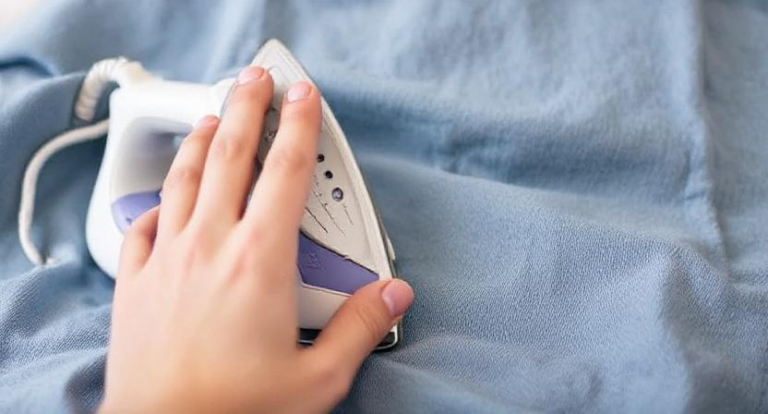
Next, set your iron to the appropriate temperature as specified on the patch instructions. Place a thin cloth over the patch to protect it from direct heat.
Apply firm pressure on the iron and hold it in place for the recommended amount of time. Avoid moving the iron around as this may cause the patch to shift.
After ironing, allow the patch to cool completely before touching it. Check that the edges are securely adhered to the fabric.
If any corners are loose, repeat the ironing process. Once the patch is firmly attached, your garment is ready to wear with its stylish new repair.
Securing the Patches for Longevity
To enhance the durability of your patched garment, ensuring the patches stay securely in place is vital for their longevity. Here are some tips to help you secure the patches effectively:
- Heat Setting: Once you have ironed on the patch, cover it with a thin cloth or parchment paper and press down with a hot iron for an additional 20-30 seconds. This will ensure the adhesive bonds well with the fabric.
- Stitching: For extra security, you can stitch around the edges of the patch. Choose a thread color that complements the patch and garment for a decorative touch.
- Fabric Glue: Apply fabric glue around the edges of the patch on the backside to reinforce the bond. Make sure the glue is suitable for both the patch and garment fabric.
- Cooling Time: Allow the garment to cool completely before wearing or washing it. This will give the adhesive enough time to set properly and prevent the patch from peeling off prematurely.
Styling Tips for Patched Clothing
Enhance your patched clothing with stylish flair by incorporating clever outfit combinations and accessories that highlight the unique patches. When styling patched clothing, consider balancing the casual nature of the patches with more polished pieces.
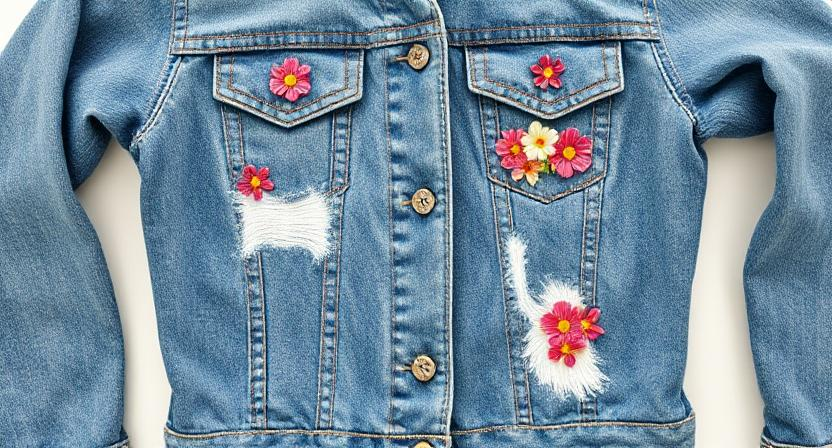
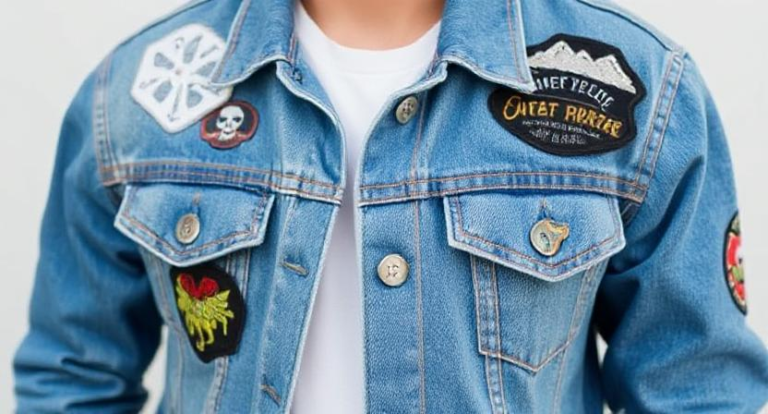
Pair a patched denim jacket with a simple white tee and tailored trousers for a chic and effortless look. Mix textures by combining a velvet patch on a denim piece with a silk blouse or a leather skirt for added visual interest.
Accessorizing is key when it comes to styling patched clothing. Opt for minimalistic jewelry to keep the focus on the patches. A delicate necklace or stud earrings can complement the patches without overwhelming them.
For footwear, consider pairing patched jeans with ankle boots or sneakers for a casual vibe, or dress up a patched dress with heels for a more elevated look.
Experiment with mixing different patch styles and sizes to create a unique ensemble. Play around with layering patched pieces with non-patched garments to add depth to your outfit.
Conclusion
Now that you’ve learned how to repair clothes with decorative iron-on patches, you can easily fix up any damaged garments in no time. Remember to choose the right patches, prep your clothing properly, apply the patches with firm pressure, and secure them for long-lasting wear. Get creative with your patches and add some stylish stitching for a personalized touch. Your patched clothing will look good as new in no time!
Frequently Asked Questions
Can Iron-On Patches Be Removed Easily?
Yes, iron-on patches can be removed easily. Simply apply heat with an iron to the patch, peel it off gently. Any residue can be removed with a solvent. Remember to follow care instructions for the fabric.
Are Iron-On Patches Machine Washable?
Yes, iron-on patches are machine washable. Remember to turn your garment inside out before washing to protect the patches. Use a gentle cycle and avoid hot water to ensure the patches stay securely in place.
How Long Do Iron-On Patches Last?
Iron-on patches typically last well through multiple washes and wears. With proper application and care, they can endure for a long time. Remember to follow the specific instructions for each patch to maximize longevity.
Can Iron-On Patches Be Applied to Delicate Fabrics?
Yes, iron-on patches can be applied to delicate fabrics. Make sure to use a lower heat setting on your iron and a pressing cloth to protect the delicate fabric. Slowly apply pressure to ensure proper adhesion.
Do Iron-On Patches Work on Waterproof Garments?
Yes, iron-on patches can adhere to waterproof garments. Make sure to use a hot iron and apply pressure evenly to ensure a secure bond. Follow the patch’s instructions for optimal results. Enjoy customizing your waterproof pieces!


