Iron-On Patches for Quilts: A Fun and Easy DIY Project
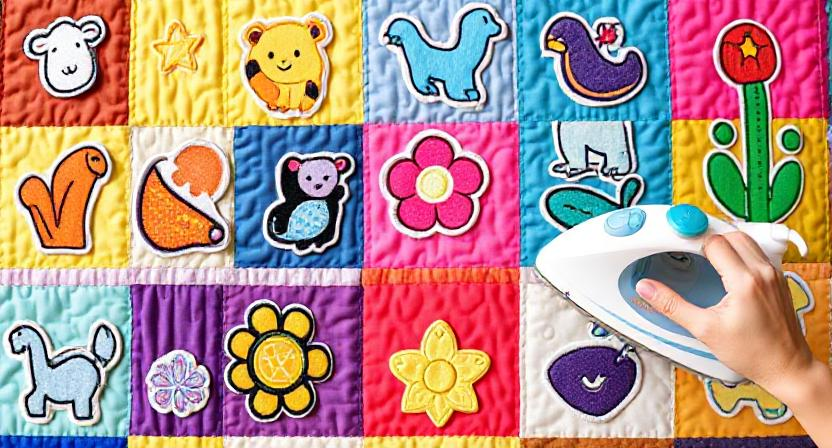
Embarking on the journey of incorporating iron-on patches into your quilting projects can open up a world of creative possibilities. The simplicity of the process belies the intricate designs and personal stories these patches can bring to your quilts. Imagine the satisfaction of seeing your vision come to life with just a few simple tools and a touch of heat. As you explore the realms of color schemes, patch placement, and unique patterns, you’ll find yourself immersed in a world where every stitch tells a tale.
“High-Quality Iron Patches – Fast Shipping!” – Get Yours Today
Key Takeaways
- Convenient and quick solution for adding flair and repairs.
- Versatile options in various designs and sizes available.
- Simple application process with just an iron needed.
- Durable patches ensure long-lasting beauty on quilts.
- Perfect for personalization and preserving cherished quilts.
Benefits of Using Iron-On Patches
Iron-on patches offer a convenient solution for adding decorative flair or repairing damaged areas on your quilts. By using these patches, you can easily personalize your quilts with unique designs or cover up any tears or holes that may have occurred over time.
The process of applying iron-on patches is simple and quick, saving you time and effort compared to traditional sewing methods. All you need is an iron and a few minutes to achieve professional-looking results.
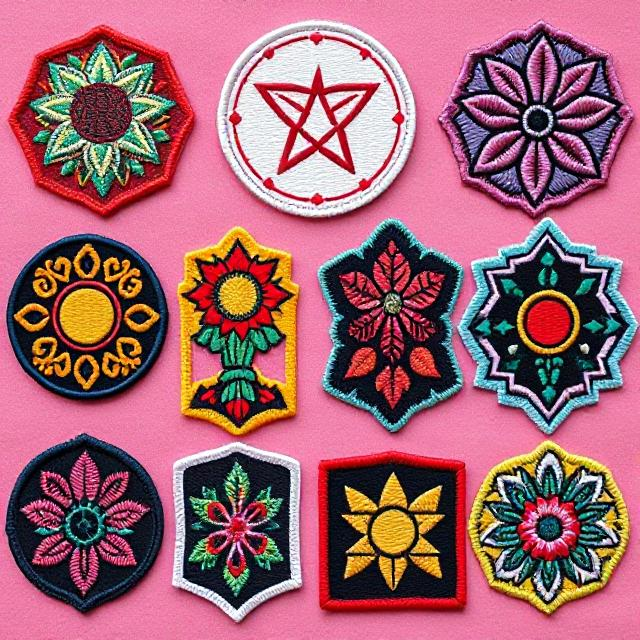
One of the key benefits of using iron-on patches is their versatility. You can choose from a wide variety of designs, sizes, and colors to match your quilting projects’ specific needs.
Whether you want to add a pop of color to a plain quilt or mend a cherished family heirloom, iron-on patches provide a practical and stylish solution. Additionally, these patches are durable and long-lasting, ensuring that your quilts will remain beautiful and intact for years to come.
Choosing the Right Patches
When selecting patches for your quilting projects, it’s important to consider a few key factors to ensure the best results. Firstly, think about the theme or design you want to achieve in your quilt. Are you going for a vintage look, a pop of color, or a specific pattern? This will help you narrow down your options and make the selection process easier.
Secondly, consider the size of the patches. Are you looking for large statement pieces or smaller accents to complement your quilt design? Make sure the patches you choose fit well within the overall layout of your quilt.
Lastly, pay attention to the quality of the patches. Opt for patches that are durable and made from materials that will withstand the wear and tear of quilting.
Preparing Your Quilt for Application

To ensure successful application of iron-on patches to your quilt, the first step is to thoroughly prepare the surface. Start by washing and drying your quilt to remove any dirt, oils, or sizing that could prevent the patch from adhering properly. Next, lay the quilt flat on a clean, heat-resistant surface, ensuring there are no wrinkles or creases that could affect the patch’s placement or adhesion.
Iron-On Patch Prep Tips
| Tip | Description | Importance |
|---|---|---|
| Smooth Surface | Ensure the quilt is flat to avoid patch misalignment | Helps with patch placement |
| Clean Quilt | Wash and dry the quilt to remove any substances that may hinder adhesion | Promotes patch longevity |
| Heat-Resistant Surface | Protect your work surface from heat damage during the ironing process | Prevents damage to the surface |
Applying Iron-On Patches Correctly
After ensuring your quilt is prepped and ready for application by washing, drying, and laying it flat on a smooth surface, it’s time to move on to applying the iron-on patches correctly.
Start by carefully arranging the patches on the quilt to achieve your desired design. Once you’re satisfied with the layout, preheat your iron to the appropriate temperature suitable for the fabric of your quilt.
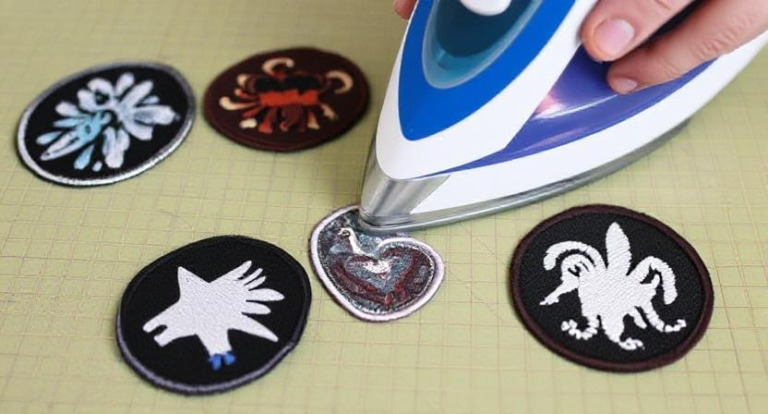
Place a thin fabric or a pressing cloth over the patches to protect them from direct heat. Press the iron firmly on the patches for about 10-15 seconds, ensuring even pressure on all areas.
Avoid sliding the iron, as this may shift the patches. Allow the patches to cool completely before checking the adhesion. If any areas seem loose, repeat the ironing process.
Once the patches are securely attached, your quilt will be ready to showcase your unique style and creativity.
Creative Ways to Arrange Patches
For a visually striking quilt design that showcases your creativity, consider exploring various creative ways to arrange patches. One popular method is the classic grid layout, where patches are organized in neat rows and columns.
Another option is the diagonal arrangement, where patches are placed at an angle, creating a dynamic and modern look. You can also try a random scatter approach, where patches are placed haphazardly for a more eclectic feel.
If you want to get more creative, consider creating a focal point by arranging patches in a starburst pattern radiating from the center.
Another fun idea is to incorporate negative space by leaving gaps between patches or using different sizes to create a unique visual effect.
Experiment with mixing and matching different shapes, sizes, and colors to achieve a truly personalized quilt design.
Troubleshooting Common Issues
If you encounter common issues when working with iron-on patches for quilts, troubleshooting can help you overcome these challenges efficiently.
One common problem is patches not adhering properly to the fabric. To fix this, ensure that your iron is set to the correct temperature recommended for the patches and fabric, apply even pressure while ironing, and give the patches enough time to cool before handling.
Another issue you might face is patches peeling off after washing. To prevent this, double-check that you followed the manufacturer’s instructions for ironing on the patches correctly. If the edges are lifting, you can re-iron them using a pressing cloth for better adhesion.
Wrinkled patches can also be a concern. To smoothen them out, carefully peel off the patch, reposition it, cover with a pressing cloth, and iron again.
Washing and Caring for Patched Quilts
To maintain the quality and longevity of your patched quilts, it’s essential to follow proper washing and care instructions. When it’s time to clean your quilt, always check the manufacturer’s label for specific guidelines.
If the quilt is machine washable, use a gentle cycle with mild detergent. To prevent damage to the patches, turn the quilt inside out before washing. Avoid using bleach or harsh chemicals that could cause the patches to peel off. After washing, air-dry the quilt to prevent shrinking and preserve the adhesive on the patches.
For spot cleaning, use a damp cloth and mild soap to gently dab at any stains. Avoid rubbing vigorously, as this could loosen the patches.
When not in use, store your patched quilt in a cool, dry place away from direct sunlight to prevent fading and adhesive breakdown.
Inspiration for Future Projects
Looking for fresh ideas to spark your creativity for future quilting projects? When it comes to iron-on patches for quilts, the possibilities are endless. Consider incorporating themed patches like animals, nature, or even your favorite TV shows or movies. These can add a personalized touch to your quilts and make them truly unique.
If you’re feeling adventurous, experiment with different patch shapes and sizes to create visually dynamic designs. Don’t be afraid to mix and match colors and patterns to create eye-catching combinations.
Another source of inspiration could be your own life experiences. Think about significant events, places, or people that hold special meaning to you. Translating these memories into quilt patches can’t only be a therapeutic process but also a way to preserve those moments in a tangible form.
Looking at quilting blogs, social media accounts, and magazines can also provide a wealth of inspiration. You might come across techniques, color schemes, or patterns that resonate with you and ignite your creativity.
Conclusion
Now that you’ve learned how to use iron-on patches for quilts, you can add a personal touch to your quilting projects with ease. Remember to choose the right patches, prepare your quilt properly, and follow the correct application process. Get creative with your patch placement and don’t forget to care for your patched quilt properly. With these tips, you’ll be creating beautiful and unique quilts in no time!
Frequently Asked Questions
Can Iron-On Patches Be Removed From Quilts?
Yes, you can remove iron-on patches from quilts. Simply use a hot iron to warm up the patch, then peel it off gently. Any residue left behind can be easily cleaned with a damp cloth.
Do Iron-On Patches Work on All Fabric Types?
Yes, iron-on patches generally work on most fabric types. Make sure to check the patch instructions for specific details. Pre-washing and testing on a small inconspicuous area can help ensure the patch adheres properly to your fabric.
Can Iron-On Patches Be Used on Old Quilts?
Yes, you can use iron-on patches on old quilts. They adhere well to most fabrics, adding a pop of color or fixing a tear. Just follow the instructions carefully for a seamless finish.
How Long Do Iron-On Patches Last on Quilts?
Iron-on patches typically last a long time on quilts if applied correctly. With proper care and occasional touch-ups, they can stay put for years. Regularly check for any peeling or wear and re-iron as needed.
Can Iron-On Patches Be Applied to Both Sides of the Quilt?
Yes, iron-on patches can be applied to both sides of the quilt. Make sure to follow the instructions carefully for a secure bond. This allows you to add a personalized touch to your quilt on both sides.


