Using Iron Patches to Personalize Tote Bags and Accessories
When it comes to adding a touch of flair to your everyday accessories, iron patches offer a world of creative possibilities. Imagine effortlessly customizing your tote bag with intricate designs or vibrant patterns that speak to your unique style. The simplicity of the application process makes it a convenient way to elevate your accessories, but there are key tips and tricks to ensure a seamless result. So, why not explore the endless potential of iron patches and take your personalization game to the next level?
“Iron-On Patches for Every Style” – Browse Collection
Key Takeaways
- Choose durable patches that complement style.
- Position patches symmetrically for balanced design.
- Apply even heat and pressure for secure bonding.
- Mix shapes and sizes for unique looks.
- Care for patches with gentle washing and storage.
Choosing the Right Iron-On Patches
When selecting iron-on patches for your tote bags, it’s important to consider both the design and quality of the patches. The design should complement your style and the overall look you want to achieve. Whether you prefer floral patterns, geometric shapes, or quirky characters, choose a patch that resonates with you.
Quality is also key; opt for patches made from durable materials that can withstand washing and daily wear. Look for patches with tight stitching and secure edges to ensure longevity.
Consider the size of the patch in relation to your tote bag. A patch that’s too small might get lost on a large bag, while one that’s too large could overwhelm a smaller tote. Additionally, think about the color scheme of the patch and how it will blend with the bag’s color. A complementary or contrasting color can make the patch stand out beautifully.
Prepping Your Tote Bag or Accessory

To ensure successful application of iron-on patches to your tote bag or accessory, proper prepping is key. Before ironing on your patches, follow these simple steps to prepare your item for customization:
| Step | Description | Purpose |
|---|---|---|
| Clean the Surface | Wipe down your tote bag or accessory with a clean, dry cloth to remove any dust or debris. | Ensures a smooth application of the iron-on patch. |
| Heat up the Iron | Heat your iron to the appropriate temperature setting recommended for the patches. | Allows the adhesive on the patch to melt and bond effectively. |
| Test on a Scrap Fabric | If you’re unsure about the heat setting, test the iron-on patch on a scrap piece of fabric first. | Prevents accidental damage to your tote bag or accessory. |
| Flatten the Fabric | Lay your tote bag or accessory on a flat, heat-resistant surface to ensure even application. | Helps the patch adhere smoothly without wrinkles or folds. |
Positioning the Iron Patches Correctly
Now, let’s focus on positioning the iron patches correctly on your tote bag or accessory.
When it comes to personalizing your items, the placement of the patches plays a crucial role in achieving a polished look. Here are some tips to help you position the iron patches accurately:
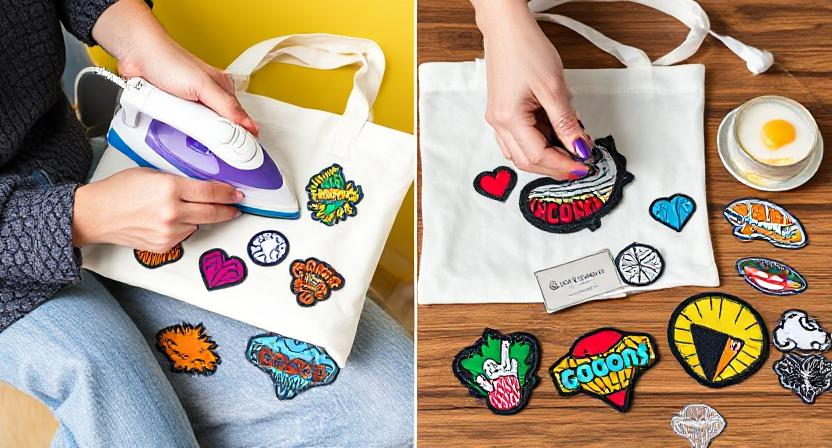
- Visualize the Layout: Before ironing any patches, lay them out on your tote bag or accessory to get a sense of how you want the final design to look.
- Use Measuring Tools: To ensure symmetry and alignment, consider using measuring tools like a ruler or measuring tape to position the patches evenly.
- Consider the Placement: Think about the overall design and placement of the patches. You may want to position them in a way that complements the shape and size of the item.
- Adjust as Needed: Don’t be afraid to make adjustments as you go. Move the patches around until you’re satisfied with the placement before ironing them on permanently.
Applying Heat for Adhesion
For successful adhesion of iron patches onto your tote bag or accessory, the key step is to apply heat effectively.
Once you have positioned the patch where you want it, place a thin cloth over the patch to protect both the patch and the fabric of your item. Set your iron to the appropriate temperature as per the patch instructions.
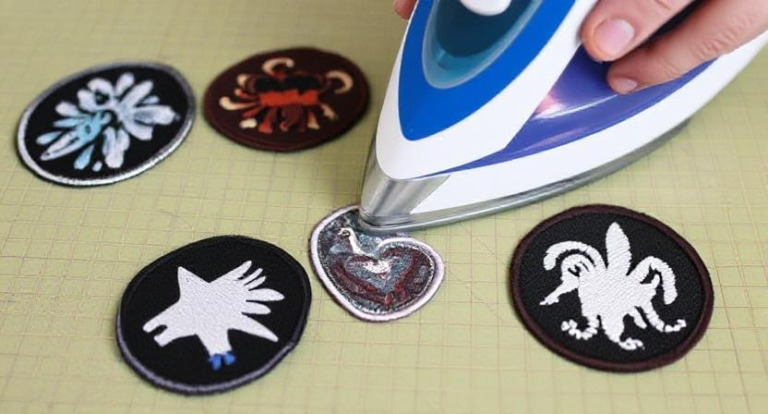
Press the iron firmly on the patch for about 15-20 seconds. Avoid using steam during this process as it can interfere with the adhesion. Apply pressure evenly, especially around the edges of the patch.
If the patch is large, work in sections to ensure even heating. Check the corners and edges to make sure they’re fully adhered before moving the iron.
Allow the patch to cool before handling to ensure it has properly bonded with the fabric. Following these steps will help you achieve a secure and long-lasting bond between the iron patch and your tote bag or accessory.
Ensuring Proper Bonding and Durability
How can you ensure that the iron patch on your tote bag or accessory is properly bonded for maximum durability? To guarantee a strong and long-lasting bond between the iron patch and your item, follow these essential steps:
- Clean the Surface: Before applying the iron patch, make sure the surface of your tote bag or accessory is clean and free of any dirt, dust, or oils. This will allow the patch to adhere securely.
- Apply Even Heat and Pressure: When ironing the patch onto the fabric, ensure that you apply even heat and pressure across the entire patch. This will help in creating a strong bond.
- Allow Sufficient Cooling Time: After ironing the patch, allow it to cool down completely before handling or using the item. This cooling period helps in setting the adhesive properly.
- Check for Secure Edges: Once the patch is attached, check the edges to ensure they’re securely bonded. If any edges appear loose, apply additional heat and pressure to reinforce them.
Adding Extra Embellishments and Details
To elevate the visual appeal of your tote bag or accessory, consider adding extra embellishments and details to make it truly unique. You can personalize your ironed-on patches further by incorporating additional elements that reflect your personality or style. Here are some ideas to inspire you:
| Embellishment | Description | Emotion |
|---|---|---|
| Sequins | Add a touch of sparkle for a glamorous look | Excitement |
| Tassels | Create a bohemian vibe with playful tassels | Whimsical |
| Fabric Flowers | Enhance the femininity with delicate blooms | Elegance |
| Studs | Incorporate studs for a touch of edginess | Boldness |
| Lace Trim | Soften the design with intricate lace trim | Romance |
Caring for Ironed-On Patches
Proper care for your ironed-on patches is essential in ensuring their longevity and vibrancy. To keep your patches looking great for a long time, follow these simple care tips:
- Avoid High Heat: When washing your items with ironed-on patches, use a gentle cycle and cold water to prevent the patches from loosening or peeling off.
- Turn Inside Out: Before tossing your items into the washing machine, turn them inside out to protect the patches from rubbing against other items or getting caught on zippers.
- Air Dry: Instead of using the dryer, let your items air dry naturally. High heat from the dryer can damage the adhesive on the patches.
- Store Properly: When not in use, store your items with ironed-on patches in a cool, dry place. Avoid folding them in a way that may cause the patches to crease or crack.
Exploring Different Patch Shapes and Sizes
After caring for your ironed-on patches, let’s now shift our focus to the various shapes and sizes available for different patches. When it comes to personalizing your tote bags and accessories, the shape and size of your patches can play a significant role in the overall aesthetic.
Small patches are perfect for adding subtle accents or filling in small spaces, while larger patches can make a bold statement or act as a centerpiece on your item.
Consider round patches for a classic look or opt for square patches for a more modern feel. Heart-shaped patches can add a touch of sweetness, while star-shaped patches can bring a whimsical touch.
Don’t be afraid to mix different shapes on a single item for a dynamic and unique appearance.
Furthermore, varying sizes within a design can create visual interest. Try combining small and large patches of the same shape for a fun contrast, or experiment with different sizes of various shapes to create a visually stimulating collage effect.
Ultimately, the possibilities are endless when it comes to exploring different patch shapes and sizes for personalizing your tote bags and accessories.
Mixing and Matching Patch Designs
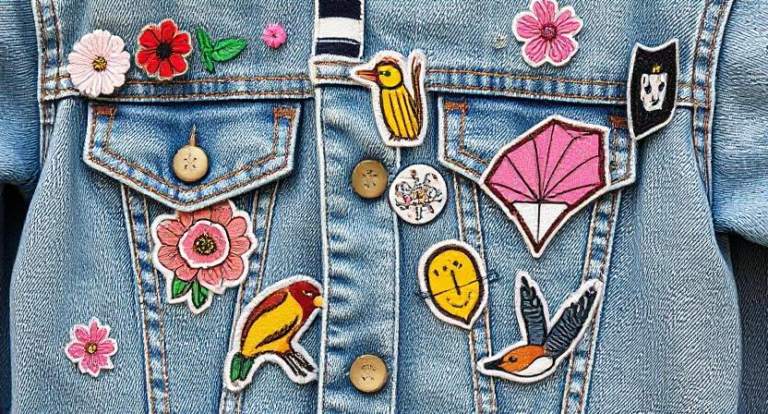
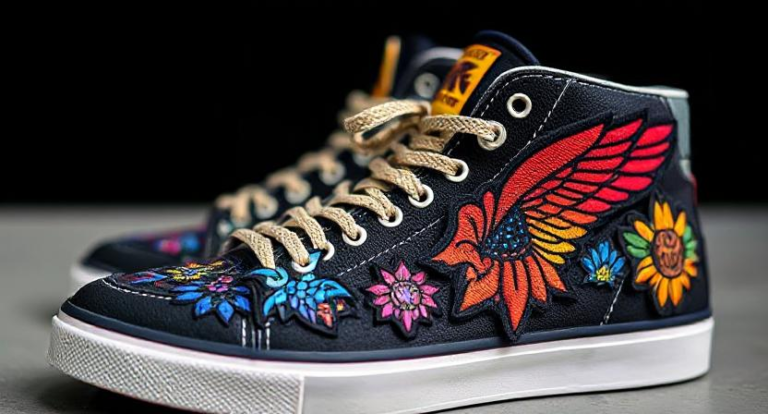
For a truly unique and personalized look, consider the art of mixing and matching patch designs on your tote bags and accessories. By combining different patch designs, you can create a one-of-a-kind style that reflects your personality and interests.
- Contrasting Colors: Pair patches with contrasting colors to make each design stand out and create a visually striking effect.
- Theme Coordination: Choose patches that follow a specific theme, such as nature, retro, or pop culture, to create a cohesive and coordinated look.
- Mixing Sizes: Experiment with different patch sizes to add dimension and visual interest to your tote bag or accessory.
- Layering Technique: Try layering smaller patches on top of larger ones to create a dynamic and textured look that catches the eye.
Mixing and matching patch designs allows you to unleash your creativity and make a fashion statement that’s uniquely yours.
Have fun exploring different combinations to find the perfect mix that speaks to your personal style.
Showcasing Your Personalized Creations
To showcase your personalized creations featuring mixed and matched patch designs on tote bags and accessories, consider displaying them in various settings that highlight your unique style. One effective way to showcase your creations is by photographing them in natural lighting to capture the vibrant colors and intricate details of the patches. You can also create a dedicated social media account or website to exhibit your personalized items to a broader audience. Additionally, participating in local craft fairs or markets can allow you to interact with customers directly and receive feedback on your designs. Collaborating with influencers or bloggers in the fashion and lifestyle niche can also help promote your personalized creations to a larger audience. By strategically showcasing your personalized tote bags and accessories, you can attract customers who appreciate your unique style and craftsmanship.
| Setting | Description | Benefits |
|---|---|---|
| Natural Lighting | Photograph in sunlight | Vibrant colors pop |
| Social Media | Create online showcase | Reach broader audience |
| Craft Fairs | Display at local events | Interact with customers |
| Collaboration | Partner with influencers | Expand reach |
| Pop-up Shops | Temporary retail space | Showcase to new audience |
Frequently Asked Questions
Can Iron-On Patches Be Removed and Reused?
Yes, iron-on patches can typically be removed and reused by carefully peeling them off the fabric. Ensure you gently lift the patch from the edge to avoid damaging it for future applications.
Are Iron-On Patches Safe to Use on All Fabrics?
Yes, iron-on patches are generally safe on most fabrics. Always check the fabric care label for suitability and test on a small inconspicuous area first. Follow proper instructions for best results and avoid damaging the fabric.
How Long Should I Wait Before Washing the Patched Item?
Before washing the patched item, wait at least 24 hours to ensure a secure bond. This allows the adhesive to fully set and prevents the patch from peeling off prematurely. Following this simple step will help maintain your personalized item’s longevity.
Can Iron-On Patches Be Applied to Leather or Faux Leather?
Yes, iron-on patches can be applied to leather or faux leather. Make sure the surface is clean and smooth before applying the patch. Use a cloth to protect the material and iron the patch on firmly for a secure attachment.
Do Iron-On Patches Work on Waterproof or Water-Resistant Materials?
Yes, iron-on patches can adhere to waterproof or water-resistant materials. They offer a fun and easy way to personalize your items. Just ensure the material can withstand the heat required for application and follow the instructions carefully.
Conclusion
Now that you’ve mastered the art of using iron patches to personalize tote bags and accessories, you can confidently showcase your unique style and creativity. With the right patches and application techniques, you can transform any ordinary item into a personalized statement piece. Have fun exploring different designs, shapes, and sizes to create one-of-a-kind accessories that truly reflect your individuality. Keep experimenting, mixing, and matching to continue expressing your personal flair through ironed-on patches.


