Step-by-Step Guide to Making Your Own Iron-On Patches at Home
To begin creating your own iron-on patches at home, it’s essential to follow a precise set of steps that will result in professional-looking results. From selecting the perfect design to the final finishing touches, each stage plays a crucial role in the patch’s overall quality and longevity. By understanding the intricacies of this process and mastering each step, you can elevate your DIY projects to a whole new level. Ready to embark on this creative journey? Let’s get started on crafting your unique iron-on patches.
“Shop Custom Iron Patches Now” – Click Here
Key Takeaways
- Choose simple designs for clarity.
- Gather fabric, adhesive sheets, scissors, iron.
- Prepare fabric by washing and ironing.
- Transfer design with heat and pressure.
- Apply adhesive, iron, and finish with stitching.
Choose Your Design
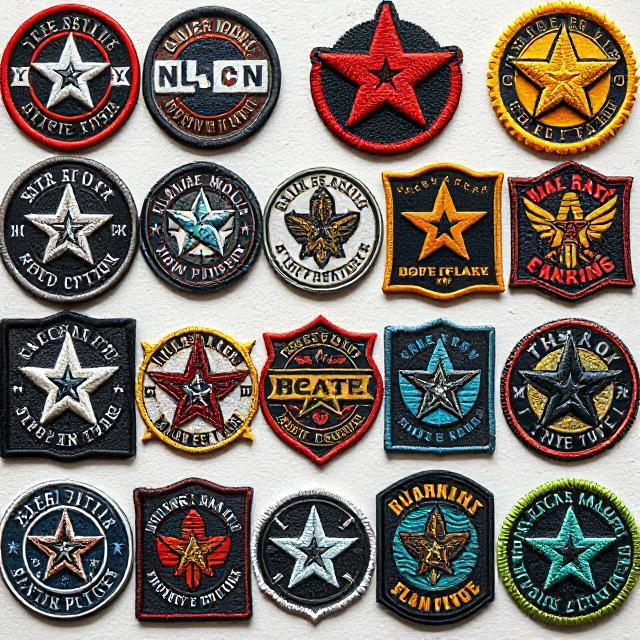
When selecting a design for your iron-on patch, opt for a simple image or pattern that will translate well onto fabric. Intricate designs may not transfer effectively, so choose something with clear lines and minimal details. Consider shapes like hearts, stars, or basic geometric patterns for a clean look.
Remember, the size of your patch will also impact how intricate the design can be, so keep that in mind when making your selection.
If you’re unsure about a design, try sketching it out on paper first to see how it looks in a smaller format. This can help you visualize how it will appear once it’s transferred onto the patch.
Additionally, consider the colors you want to use and how they’ll complement the fabric you plan to attach the patch to. Bright, bold colors can make your patch stand out, while more subdued tones can offer a more subtle look.
Gather Materials
To create your iron-on patches successfully, you must gather all the necessary materials before diving into the crafting process. The key items you’ll need include fabric for your patches, iron-on adhesive sheets, an iron, scissors, a pencil for tracing your design, and any embellishments you want to add, such as embroidery floss or beads.
Choose a fabric that’s suitable for your project, ensuring it’s clean and free of wrinkles before starting. The iron-on adhesive sheets are critical for attaching your design to the fabric securely. Make sure you have a functioning iron and a flat, heat-resistant surface to work on.
Sharp scissors will help you cut out your patch neatly, while a pencil will be handy for tracing your design onto the fabric. Finally, any additional embellishments you wish to add will personalize your patch and make it unique.
Prepare Fabric

Before you begin the iron-on process, preparing your fabric is crucial for ensuring a successful outcome. Follow these steps to get your fabric ready:
- Wash and Dry: Start by washing your fabric to remove any dirt, chemicals, or sizing that might interfere with the adhesion of the iron-on patch.
- Iron Out Wrinkles: Use an iron to smooth out any wrinkles in the fabric. This step ensures that the iron-on patch adheres evenly without any bumps or creases.
- Cut to Size: Cut your fabric to the desired size and shape for your iron-on patch. Make sure to leave some extra fabric around the edges for a clean finish when attaching the patch.
Taking the time to prepare your fabric properly will make the iron-on process smoother and help your patches adhere securely for a professional-looking result.
Design Transfer
Once your fabric is prepared and ready to go, the next step in the process is the design transfer for your iron-on patches.
To transfer your design onto the fabric, begin by printing or drawing your desired design onto a sheet of transfer paper. Make sure to mirror the image before printing if it contains any text or needs to face a specific direction.
Once your design is ready, carefully cut it out, leaving a small border around the edges to prevent fraying.
Then, position the design face down onto the fabric where you want the patch to be. Use an iron set to the appropriate heat setting for your fabric (usually cotton or linen) and press firmly on the design for about 20-30 seconds.
After ironing, allow the fabric to cool before peeling off the transfer paper. Your design should now be transferred onto the fabric, ready for the next step of cutting out the patch.
Make sure the design has adhered properly before proceeding with the cutting process.
Cut Out Patch
Now, grab your fabric scissors and carefully cut around the outline of your transferred design.
Make sure to follow the edges closely to create a clean and precise cut. Here are a few tips to help you with this step:
- Hold the fabric taut while cutting to prevent any uneven edges.
- Take your time and cut slowly to avoid any mistakes or slips.
- If your design has intricate details, consider using smaller scissors or a craft knife for better precision.
Apply Adhesive
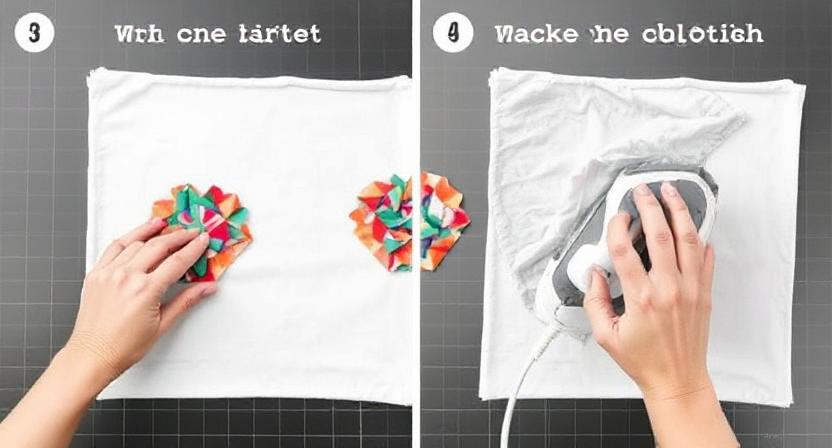
To adhere the iron-on patch to your desired fabric, carefully peel off the backing paper from the adhesive side of the patch. Make sure to position the patch exactly where you want it on the fabric. Once the backing paper is removed, place the adhesive side of the patch onto the fabric with the design facing up.
Next, cover the patch and fabric with a clean cloth to protect them from direct heat. Preheat your iron to the appropriate temperature for the type of fabric you’re working with. Press the iron firmly onto the patch and fabric, applying steady pressure for about 15-20 seconds.
Be sure to move the iron around slightly to ensure even heat distribution. After pressing the patch, allow it to cool completely before handling. Once cooled, gently check if the patch is securely attached to the fabric. If needed, repeat the ironing process for a few more seconds.
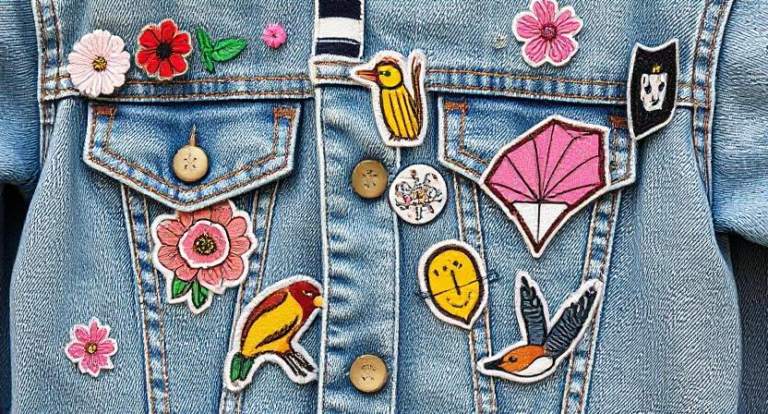
Your custom iron-on patch is now ready to be proudly displayed on your favorite clothing or accessories.
Iron-On Patch
For attaching the iron-on patch to your fabric successfully, meticulously peel off the adhesive backing paper from the patch.
Once the adhesive is exposed, follow these steps to ensure a seamless application:
- Position the patch: Carefully place the patch on the desired spot of your fabric, ensuring it’s straight and centered.
- Apply heat: Cover the patch with a thin cloth to protect it, then use a hot iron to press down on the patch firmly for about 20-30 seconds. Make sure to apply even pressure.
- Check and secure: Allow the patch to cool for a few seconds before gently trying to lift a corner. If the patch lifts with the paper, repeat the ironing process.
Once the patch is securely attached, let it cool completely before using or washing the fabric.
Following these steps will help you create professional-looking iron-on patches that stay put on your favorite clothing items.
Finishing Touches
In adding the final touches to your iron-on patch project, focus on enhancing its durability and professional appearance. To achieve a polished look, consider the following steps:
| Finishing Touches | Description |
|---|---|
| 1. Edge Stitching | Sew a tight and neat edge stitch around the patch to prevent fraying and give it a clean finish. |
| 2. Backing Material | Attach a piece of backing fabric to the back of the patch for extra reinforcement and a professional look. |
| 3. Heat Press | After ironing the patch onto your garment, use a heat press to ensure a secure bond for long-lasting wear. |
| 4. Trim Excess Threads | Trim any excess threads carefully to maintain a tidy appearance and prevent them from unraveling. |
| 5. Pressing Time | Follow the recommended pressing time to guarantee that the adhesive fully sets and bonds the patch securely. |
Care Instructions
Taking care of your iron-on patches is essential to maintain their appearance and longevity. To ensure your patches stay looking great for a long time, follow these simple care instructions:
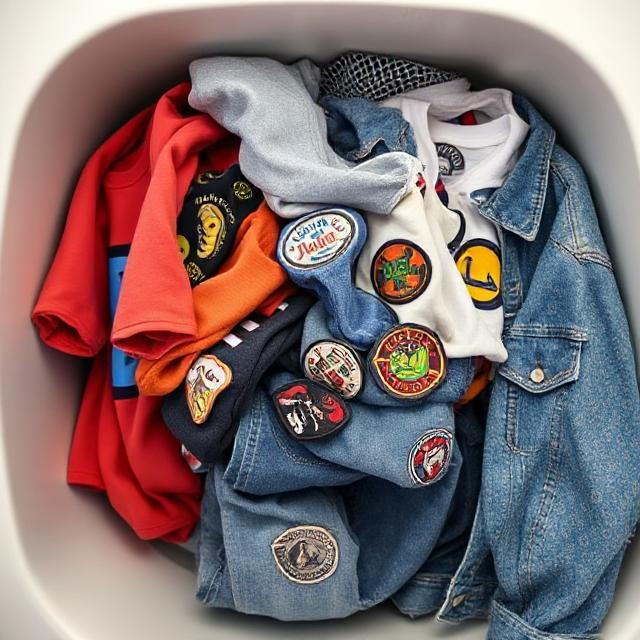
- Washing: When washing clothes with iron-on patches, turn them inside out before placing them in the washing machine. Use a gentle cycle with cold water to prevent the patches from peeling off due to heat or friction.
- Drying: It’s best to air dry garments with iron-on patches rather than using a dryer. High heat from the dryer can cause the patches to loosen or come off. Lay the clothing flat or hang it up to dry naturally.
- Ironing: If your patch starts to peel off or lose its adhesion, you can re-iron it to secure it back in place. Turn the garment inside out and place a thin cloth over the patch before ironing it again.
Be sure to use a low heat setting to avoid damaging the patch.
Conclusion
Now that you’ve completed the steps to make your own iron-on patches at home, you can proudly showcase your unique designs on your clothing or accessories. With a little creativity and effort, you can personalize your wardrobe and add a touch of individuality to your style. Enjoy wearing your custom patches and don’t forget to follow the care instructions to keep them looking great for a long time. Happy crafting!
Frequently Asked Questions
Can Iron-On Patches Be Washed in the Washing Machine?
Yes, you can wash iron-on patches in the washing machine. Remember to turn the garment inside out before washing, use a gentle cycle, and avoid high heat when drying to ensure the patches stay securely attached.
How Do I Prevent the Edges of the Patch From Fraying?
To prevent fraying edges on your patch, trim any loose threads, then apply a thin layer of fabric glue around the edges. This will secure the fabric and keep it from unraveling. Make sure to let it dry completely before use.
Can Iron-On Patches Be Applied to Leather or Nylon?
Yes, iron-on patches can be applied to leather or nylon. Ensure to use a fabric-safe adhesive and follow the manufacturer’s instructions for optimal results. Applying heat evenly with a press cloth will help securely bond the patch to these materials.
What Should I Do if the Adhesive on the Patch Doesn’t Stick?
If the adhesive doesn’t stick on the patch, try reheating and applying firm pressure with the iron for a longer duration. Ensure the patch and fabric are clean and dry before reapplying heat. If issues persist, consider using fabric glue for a secure attachment.
Can I Use a Hairdryer Instead of an Iron to Apply the Patch?
Yes, you can use a hairdryer instead of an iron to apply the patch. Ensure you use the hairdryer on a high heat setting and press firmly over the patch to secure it in place effectively.


