How to Iron on Patches
When it comes to ironing on patches, you want to ensure a secure and lasting bond without damaging your garment. The process may seem straightforward, but there are key steps that can make all the difference in the outcome. From selecting the right patch to applying the correct heat level, each detail plays a crucial role in achieving a professional-looking result. So, let’s delve into the nuances of ironing on patches to elevate your garment game to the next level.
Key Takeaways
- Choose patch placement carefully for style and functionality.
- Prepare garment by washing and ironing.
- Set iron to appropriate heat level according to fabric.
- Apply heat and pressure evenly for 15-20 seconds.
- Check adhesion by gently tugging on patch edges.
Choosing the Right Patch
When selecting a patch to iron onto your clothing, consider the design, size, and color scheme that best complement the garment.
The design of the patch should resonate with your personal style and the overall aesthetic of the clothing piece.
Whether you prefer quirky, bold designs or more subtle, classic motifs, ensure that the patch enhances the look you’re aiming for.
Size plays a crucial role in patch selection. A patch that’s too small may get lost on the fabric, while one that’s too large could overwhelm the garment.
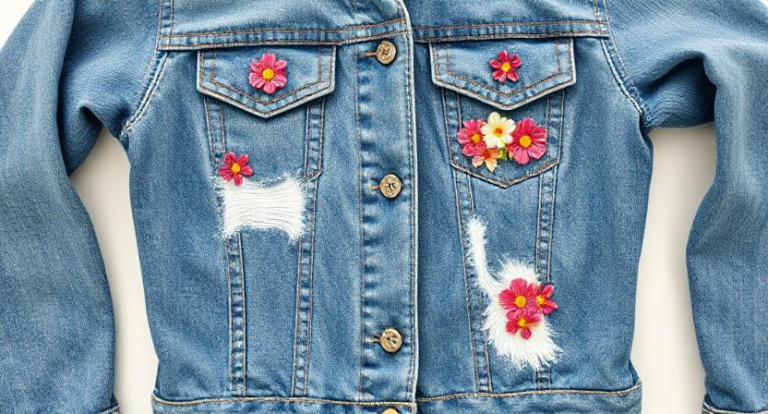
Take into account the placement of the patch on the clothing item to determine the appropriate size. A small patch might look great on a pocket, while a larger one could be a statement piece on the back of a jacket.
Color scheme is another key factor to consider. Opt for a patch with colors that either complement or contrast nicely with the garment’s hues.
Harmonizing colors can create a cohesive look, while contrasting colors can make the patch stand out and add a pop of visual interest.
Preparing the Garment
To ensure successful adhesion of the patch, begin by prepping the garment. This step is crucial to guarantee that the patch adheres securely and remains in place over time.
Follow these simple steps to prepare your garment:
| Steps to Prepare the Garment |
|---|
| 1. Wash and dry the garment: Before applying the patch, make sure the garment is clean and free of any dirt, oils, or fabric softeners that could interfere with adhesion. |
| 2. Choose a suitable location: Select a flat and stable surface for ironing, ensuring there are no wrinkles on the garment that could cause the patch to adhere unevenly. |
| 3. Test the fabric: Check the fabric of the garment to ensure it can withstand the heat of the iron. Delicate fabrics may require a lower heat setting to avoid damage. |
Positioning the Patch

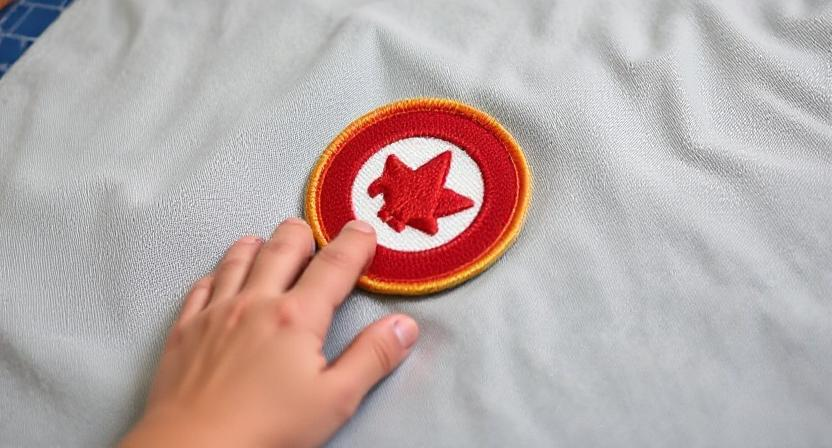
For precise placement of the patch, start by laying out the garment on a flat surface with the side you want to attach the patch facing up.
Smooth out any wrinkles or folds to ensure a flat surface for the patch to adhere to.
It’s important to consider the location of the patch – whether it’s on a sleeve, chest, or back – and visualize how it will look once attached.
Once you have identified the ideal placement, you can use pins or fabric chalk to mark the exact position where the patch will be placed.
This step is crucial for ensuring that the patch is centered and aligned correctly.
Take your time with this step to avoid any mistakes in positioning the patch.
When positioning the patch, make sure it isn’t too close to seams or edges as this can affect its adhesion and longevity.
Aim for a spot that’s easily visible and doesn’t hinder the movement or functionality of the garment.
Once you’re satisfied with the positioning, you’re ready to move on to the next step of setting the iron and attaching the patch securely.
Setting the Iron
To ensure the successful attachment of the patch, the next step is to properly set your iron.
Before beginning the ironing process, it’s crucial to check the fabric care label on the garment to determine the appropriate heat setting for ironing.
Different fabrics require different heat levels to avoid damage.
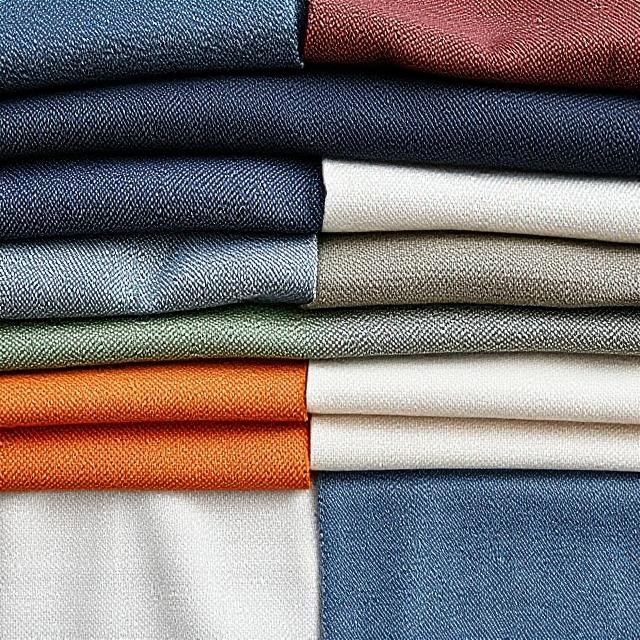
Most irons have adjustable heat settings ranging from low to high. For delicate fabrics like silk or synthetic materials, set the iron to a lower temperature to prevent scorching or melting.
For sturdier fabrics like denim or cotton, a higher heat setting may be necessary to ensure the patch adheres properly.
Once you have determined the correct heat setting for your specific fabric, allow the iron to fully heat up before beginning the ironing process.
It’s important to ensure that the iron is hot enough to activate the adhesive on the patch but not so hot that it causes damage to the fabric.
Setting the iron at the right temperature is a crucial step in the patch application process.
Applying Heat and Pressure
Once the iron is set to the appropriate temperature for your fabric, the next step in applying patches is to focus on the crucial process of applying heat and pressure.
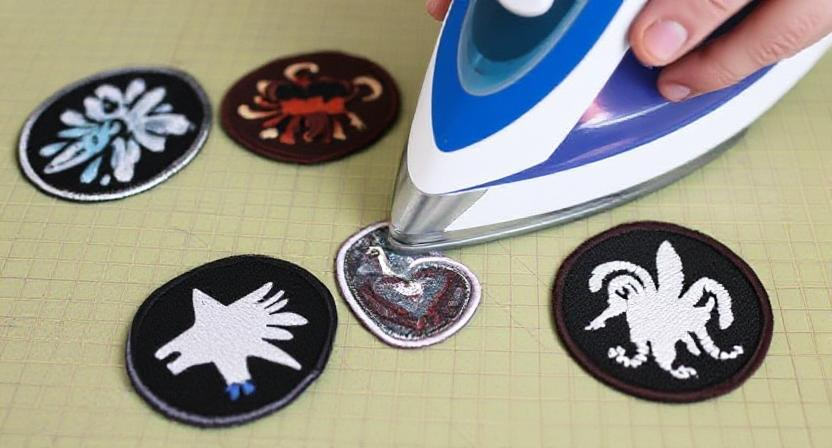
Place a clean, dry cloth over the patch and garment before ironing. This barrier ensures that the patch doesn’t come into direct contact with the iron, preventing any damage to the patch or the fabric.
When you’re ready to apply the patch, press the iron down firmly on the cloth-covered patch. Hold the iron in place for about 15-20 seconds, applying steady pressure.
Avoid moving the iron around as this may cause the patch to shift out of place. Make sure to apply pressure evenly across the patch, especially focusing on the edges.
This helps to ensure that the entire patch adheres securely to the fabric.
If the patch is large or if you’re working on a thicker fabric, you may need to apply heat and pressure for a slightly longer duration.
After the initial pressing, carefully lift the iron and cloth to check if the patch has adhered properly. If any edges are still lifting, repeat the process, applying heat and pressure until the patch is securely attached.
Checking the Adhesion
Now that you have applied heat and pressure to secure the patch in place, the next step is to check the adhesion to ensure a successful application.
Once you have finished ironing the patch onto the fabric, allow it to cool down for a few seconds before testing the adhesion.
Gently tug on the edges of the patch to see if it lifts or peels away from the fabric. If the patch starts to come off, it indicates that the adhesion isn’t strong enough, and you’ll need to reapply heat and pressure.
Another way to check the adhesion is by examining the edges of the patch. If the edges are still lifted or not lying flat against the fabric, it means that the patch hasn’t adhered properly.
In this case, you can apply more heat and pressure to those specific areas using the iron.
Furthermore, inspect the entire patch for any signs of bubbling, wrinkling, or loose corners. These are indications that the patch hasn’t fully adhered.
To fix these issues, press the patch again with the iron, focusing on the problem areas.
Letting It Cool
Allow the patched fabric to cool down completely before handling it further. This step is crucial in ensuring that the patch properly adheres to the fabric.
The cooling process allows the adhesive on the patch to set and bond securely with the fabric underneath.
During this cooling period, it’s essential to resist the temptation to touch or move the patched area. Any premature handling could disrupt the adhesion process and result in the patch not sticking properly.
Be patient and let the fabric cool down undisturbed.
To ensure optimal results, leave the fabric on a flat surface to cool. This helps maintain the even distribution of heat and pressure from the iron, which is essential for a well-attached patch.
As the fabric cools, the fibers contract, securing the patch in place.
The cooling time can vary depending on the type of patch and fabric. Generally, allowing the fabric to cool for 5-10 minutes should be sufficient.
However, for thicker fabrics or larger patches, you may want to extend the cooling time to ensure a strong bond.
Once the fabric has completely cooled down, you can move on to the final steps of finishing touches to complete the patching process successfully.
Finishing Touches
Adding a border stitch around the patch enhances its durability and adds a decorative touch to your garment.
Once the patch has cooled down completely, thread a needle with a matching color thread and knot the end.
Start stitching along the edge of the patch, making small and even stitches to secure it firmly in place. This simple step not only prevents the patch from peeling off but also gives it a professional finish.
To further secure the patch, you can apply a thin layer of fabric glue along the edges before stitching. This extra step reinforces the bond between the patch and the fabric, ensuring it stays put through multiple washes and wears.
Remember to let the glue dry completely before proceeding with the border stitch.
After you have finished stitching the border, turn the garment inside out and trim any excess threads for a neat appearance.
Take a moment to inspect the patch and surrounding area for any loose threads or imperfections that can be tidied up.
Once satisfied with the final look, your garment is ready to be worn proudly with the ironed-on patch perfectly in place.
Caring for Ironed Patches
To ensure the longevity of your ironed patches, proper care is essential. After going through the effort of ironing on your patches, you want to make sure they stay looking great for as long as possible.
Here are some tips to help you care for your ironed patches:
- Avoid excessive heat: When washing your garment with ironed patches, use cold or warm water instead of hot water to prevent the patches from loosening.
- Turn garments inside out: Before tossing your clothes with ironed patches into the washer or dryer, turn them inside out to protect the patch from getting caught or rubbed against other clothing.
- Air dry when possible: To maintain the adhesive bond of the ironed patch, it’s best to air dry the garment instead of using a dryer. This will prevent any heat damage that could affect the patch.
- Store garments carefully: When hanging or folding clothes with ironed patches, make sure to do so carefully to avoid creasing or damaging the patches. Hanging them inside out can also help preserve the patch’s appearance.
Conclusion
Now that you’ve learned how to iron on patches, you can easily add a touch of personal flair to your clothing and accessories. Remember to choose the right patch, position it carefully, apply heat and pressure with an iron, check the adhesion, and finish with stitching and fabric glue if desired. With these simple steps, you’ll have stylish and durable patches that showcase your unique style.
Frequently Asked Questions
Can Patches Be Ironed Onto Any Fabric Material?
Yes, patches can generally be ironed onto most fabric materials. It’s important to check the patch instructions for specific requirements. Make sure to preheat the iron, apply pressure evenly, and follow the recommended heat settings for best results.
How Long Should I Wait Before Washing a Garment With Ironed Patches?
After ironing on patches, wait at least 24 hours before washing the garment. This allows the adhesive to fully bond with the fabric. Following this simple step ensures that the patches stay securely in place after washing.
Can Ironed Patches Be Repositioned After Heat Application?
Yes, ironed patches can be repositioned after heat application. Simply reheat the patch with an iron for a few seconds to loosen the adhesive, carefully peel it off, and then place it in the desired position.
Are There Specific Iron Settings for Different Patch Materials?
To ensure proper adhesion when ironing on patches, adjust settings based on patch material. Cotton patches generally need high heat, while delicate fabrics like silk require lower temperatures. Always check patch instructions for best results.
Can Ironed Patches Withstand Dry Cleaning?
Yes, ironed patches can generally withstand dry cleaning. However, it’s important to check the specific patch material and ironing instructions to ensure durability. Following proper care guidelines will help maintain the patch’s appearance.


