DIY Halloween Costumes Using Custom Iron Patches
When it comes to DIY Halloween costumes, incorporating custom iron patches adds a touch of individuality to your look. From classic characters to pop culture references, the possibilities are endless. Imagine the thrill of transforming a basic outfit into a one-of-a-kind ensemble with just a few patches and a little creativity. The question is, how will you make your costume truly unforgettable this Halloween season?
“Express Yourself with Custom Patches” – Start Designing
Key Takeaways
- Choose iron patches that match costume theme and style.
- Personalize store-bought costumes with patches for uniqueness.
- Add spooky or whimsical patches for Halloween flair.
- Apply patches securely following simple ironing steps.
- Maintain patches by checking for loose edges and gentle washing.
Choosing the Right Iron Patches
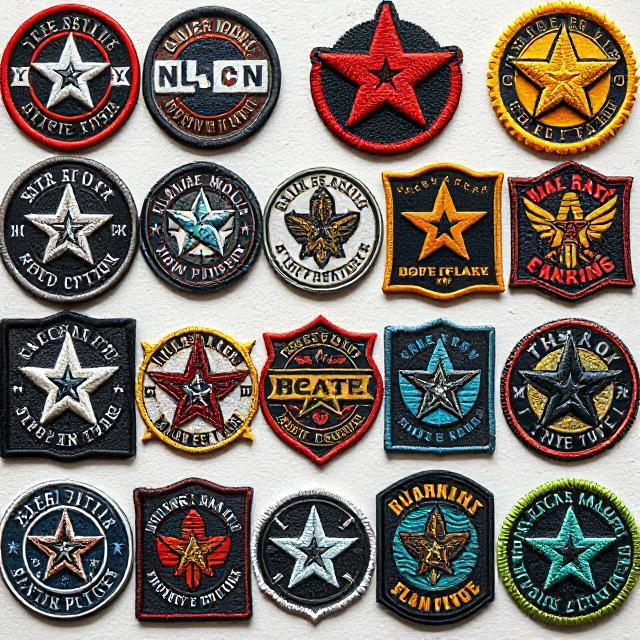
When selecting iron patches for your DIY Halloween costume, it’s crucial to consider both the design and quality. The design of the patch should match the theme of your costume and reflect your personal style. Whether you’re going for a spooky vibe with skulls and bats or a more whimsical look with unicorns and rainbows, choosing a patch that resonates with your costume idea is key.
Make sure the colors and size of the patch complement the overall aesthetic you’re aiming for.
In addition to design, quality is paramount when selecting iron patches. Opt for patches made from durable materials that can withstand the heat of the iron during application. High-quality patches are less likely to fray or peel over time, ensuring that your costume looks polished and professional throughout the Halloween festivities.
Check for reviews or recommendations from other DIY enthusiasts to ensure you’re investing in patches that will last for multiple uses.
Simple Iron Patch Application Steps
To apply iron patches to your DIY Halloween costume, begin by preparing a clean, flat surface for ironing. Lay your costume on the ironing board and ensure it is wrinkle-free. Place the iron patch on the desired location, with the adhesive side down.

Next, set your iron to the appropriate temperature recommended for the patch material. Once heated, gently press the iron on the patch for about 15-20 seconds. Avoid using steam during this process as it may not effectively adhere the patch to the fabric.
After ironing, let the patch cool down for a few minutes before touching or moving the costume. To ensure a secure bond, turn the costume inside out and repeat the ironing process on the reverse side of the fabric.
Below is a handy table summarizing the simple steps for applying iron patches to your DIY Halloween costume:
| Iron Patch Application Steps |
|---|
| 1. Prepare the surface for ironing |
| 2. Place the patch adhesive-side down |
| 3. Iron the patch for 15-20 seconds |
| 4. Let the patch cool down |
| 5. Repeat the process on the reverse side |
Customizing Store-Bought Costumes
If you’re looking to add a personal touch to store-bought Halloween costumes, customizing them can be a fun and creative way to stand out at any spooky gathering. Transforming a generic costume into a unique and personalized ensemble is easier than you think.
One simple way to customize your store-bought costume is by adding embellishments like ribbons, sequins, or patches to make it your own. You could also consider altering the costume by adjusting its length, adding layers, or incorporating different fabrics to give it a fresh look.
Another option is to accessorize with themed props or jewelry to enhance the overall appearance and tie the costume together.
Moreover, you can take inspiration from popular trends or characters and incorporate elements that reflect your style or interests. By customizing your store-bought costume, you can showcase your creativity and make a statement while standing out from the crowd at any Halloween event.
Iron Patch Transformation Ideas
For a quick and effective way to elevate your store-bought Halloween costume, consider incorporating iron patch transformation ideas.
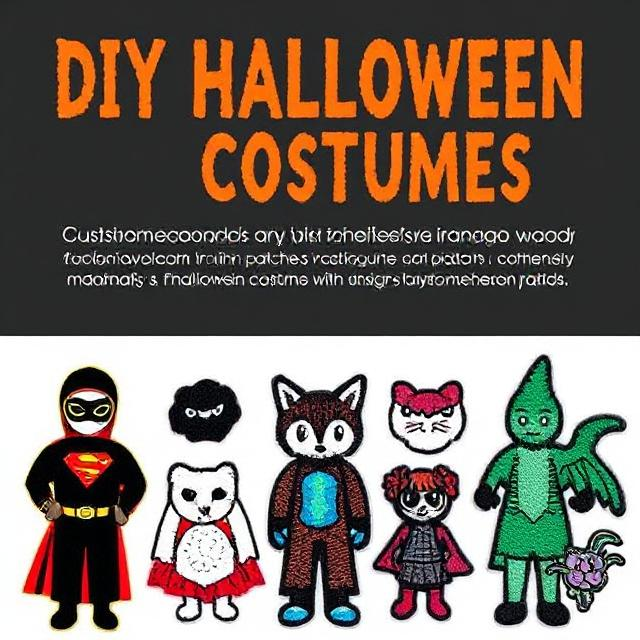
Iron patches can add a unique and personalized touch to your outfit, making it stand out from the crowd. One idea is to use iron-on patches to create a superhero emblem on a plain t-shirt or cape, instantly transforming yourself into a crime-fighting hero.
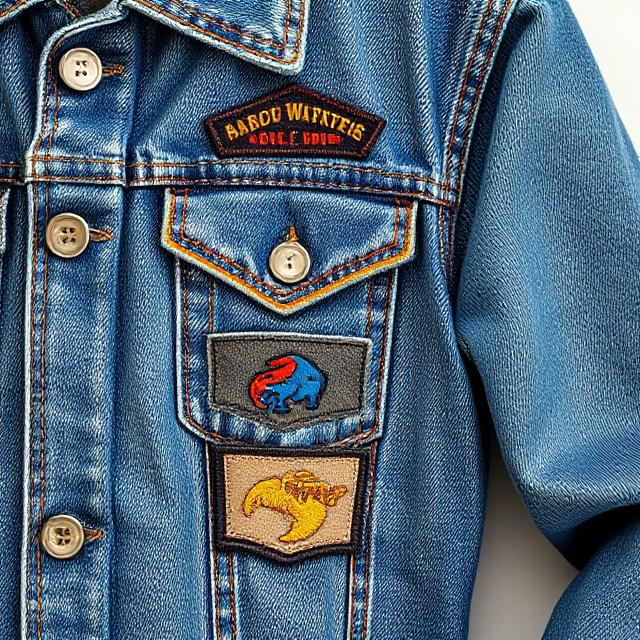
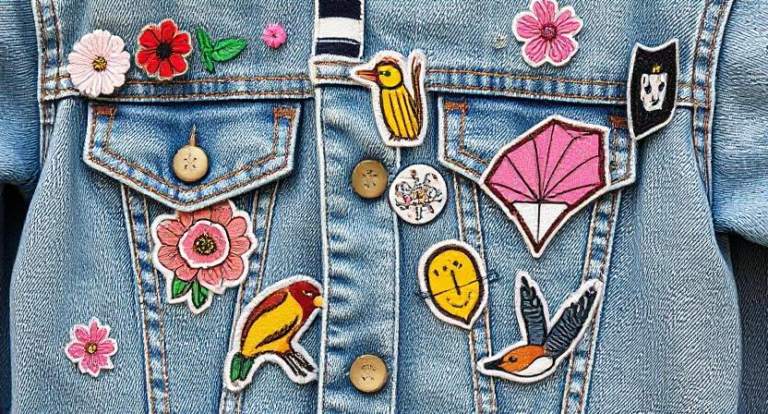
Another fun option is to add spooky patches like bats, spiders, or jack-o’-lanterns to a simple black dress or shirt for a festive Halloween look. You can also use iron patches to mimic the look of stitches on clothing to create a Frankenstein-inspired costume or add a touch of whimsy with colorful patches on a denim jacket for a playful costume.
The possibilities are endless, and iron patches offer a quick and easy way to customize your costume without breaking the bank. Let your creativity run wild and have fun experimenting with different iron patch transformation ideas this Halloween!
Group Costume Inspiration
Looking to make a splash at your next Halloween party with your friends? Group costumes are a fantastic way to stand out and create memorable moments together.
Get inspired by these fun and creative ideas for your next group costume using custom iron patches.
- Superhero Squad: Suit up as your favorite superheroes by customizing t-shirts with superhero logos using iron patches. Whether you want to be Batman, Wonder Woman, or Spider-Man, coordinating your costumes will make a powerful impact.
- Retro Movie Night: Take a trip down memory lane by dressing up as characters from classic movies. From iconic duos like Wayne and Garth from “Wayne’s World” to the Sanderson Sisters from “Hocus Pocus,” iron patches can help you recreate the look with ease.
- Foodie Friends: Embrace your love for food by transforming into your favorite snacks or beverages. Create patch-adorned outfits representing pizza slices, tacos, or even sushi rolls for a tasty group costume idea that will have everyone’s mouths watering.
Get your group together, brainstorm some ideas, and let your creativity run wild with custom iron patches for a Halloween to remember!
Iron Patch Maintenance Tips
Proper care and maintenance of your iron patches are essential to ensure they stay securely attached to your clothing and looking sharp. Here are some tips to help you maintain your DIY costume’s iron patches:
- Regularly check for loose edges: Make sure to inspect your iron patches before each wear to ensure all edges are still securely attached.
- Avoid high heat settings: When ironing your clothing with patches, use a lower heat setting to prevent the patches from melting or loosening.
- Turn clothing inside out: To protect the patches from direct heat, turn your clothing inside out before ironing.
- Hand wash or gentle cycle: To prevent the patches from coming loose in the wash, opt for hand washing or a gentle cycle in the washing machine.
- Air dry or low heat: After washing, air dry your clothing or use a low heat setting in the dryer to avoid damaging the patches with high heat.
Showcasing Your DIY Costume
To truly bring your DIY Halloween costume to life, it’s important to showcase it in the best light possible. When displaying your costume, consider the lighting. Opt for well-lit areas to highlight all the intricate details you put into creating your costume.
Whether indoors or outdoors, make sure the lighting enhances the overall look and feel of your DIY creation.
Another key aspect of showcasing your DIY costume is the backdrop. Choose a backdrop that complements your costume and doesn’t distract from it. A simple, solid-colored background can help your costume stand out and be the center of attention.
Avoid cluttered or busy backgrounds that may take away from the impact of your costume.
In addition to lighting and backdrop, consider adding some props or accessories that enhance your costume theme. These can further elevate your DIY creation and make it more engaging for viewers.
Conclusion
Now that you have your custom iron patches and DIY costume ready, it’s time to show off your creativity and style at your Halloween event. Whether you’re going for spooky, cute, or unique, your personalized costume is sure to turn heads. Don’t forget to have fun and embrace the Halloween spirit with your one-of-a-kind look!
Frequently Asked Questions
Can Iron Patches Be Removed Easily From Fabric?
Sure, iron patches can be removed easily from fabric. Just grab a hot iron, some parchment paper, and gently press the patch. The heat will soften the adhesive, allowing you to peel it off effortlessly.
Are Iron Patches Safe to Use on Delicate Fabrics?
Yes, iron patches are safe on delicate fabrics. They provide a simple way to customize your clothing without damaging the material. Just remember to follow the instructions carefully for a secure and stylish result.
How Long Do Iron Patches Typically Last on Clothing?
Iron patches typically last on clothing for several washes. However, frequent washing and drying can shorten their lifespan. To extend the longevity, avoid high heat settings and consider re-ironing the patches as needed for a secure hold.
Can Iron Patches Be Washed and Dried in a Machine?
Yes, iron patches can be washed and dried in a machine. Follow the care instructions provided with the patches for the best results. Regular machine washing and drying should not affect the durability of properly applied iron patches.
Do Iron Patches Work on Non-Clothing Items Like Bags or Hats?
Yes, iron patches work well on non-clothing items like bags or hats. They adhere easily when properly applied. Just ensure the surface is suitable for ironing, follow the instructions, and enjoy your customized accessories!
