How to Use Iron-On Patches to Create Vintage Aesthetic Outfits
When it comes to infusing your wardrobe with a touch of vintage charm, utilizing iron-on patches can be a game-changer. Imagine effortlessly transforming plain garments into unique pieces that speak to your individual style. The process involves a creative blend of selection, placement, and personal flair, resulting in outfits that exude nostalgic vibes while staying on-trend. Stay tuned to discover the step-by-step guide on how to master the art of using iron-on patches to curate your very own vintage-inspired ensembles.
“Iron-On Patches for Every Style” – Browse Collection
Key Takeaways
- Choose patches inspired by specific eras like the 60s, 70s, or 90s.
- Experiment with creative patch placements for a unique vintage look.
- Apply heat and pressure correctly for secure patch adhesion.
- Secure patches with stitching, glue, and re-ironing for durability.
- Mix patch designs by maintaining theme consistency and color coordination.
Choosing the Right Iron-On Patches
When selecting iron-on patches for your vintage aesthetic outfits, it’s important to consider the style and theme you want to achieve.
Think about the era you’re drawing inspiration from – whether it’s the vibrant 60s, the groovy 70s, or the grunge-filled 90s. Each era has distinct design elements that can elevate your outfit. For a 60s look, opt for patches with psychedelic patterns or peace signs. If you’re going for a 70s vibe, floral motifs or retro typography can work well. For a more grunge-inspired outfit, patches featuring band logos or edgy symbols might be the way to go.
Consider the color scheme of your outfit when choosing iron-on patches. Harmonizing the colors can tie the whole look together seamlessly.
Additionally, think about the size and placement of the patches. Smaller patches can add subtle detail, while larger patches can make a bold statement. Experiment with different combinations until you find the perfect balance for your vintage aesthetic.
Preparing Your Garment Surface

To ensure a successful application of iron-on patches for your vintage aesthetic outfits, the initial step is to properly prepare the surface of your garment.
Start by washing and drying your garment to remove any dirt, oils, or residues that could interfere with the adhesion of the patch. Next, lay your garment on a flat and sturdy surface to work on.
Use a clean, dry iron to iron out any wrinkles on the area where you plan to place the patch. This will ensure a smooth and even surface for the patch to adhere to.
If your garment is made of delicate fabric, such as silk or satin, consider placing a thin cotton cloth over the area before ironing to protect the fabric from heat damage.
Additionally, avoid using steam while ironing, as it may affect the adhesive properties of the patch.
Positioning the Patches Correctly
Once you have properly prepared the surface of your garment, the next crucial step is positioning the iron-on patches correctly.
Lay your garment on a flat surface and decide on the placement of the patches. Consider the overall aesthetic you want to achieve and the size of the patches. It’s helpful to take a picture or make a sketch of the arrangement before ironing to ensure you’re satisfied with the final look.
Start by placing the patches on the garment without removing the backing paper. This allows you to adjust the positioning until you’re happy with the layout. Use a ruler or measuring tape to ensure the patches are evenly spaced and aligned. If you’re going for a symmetrical look, make sure the patches are mirrored on both sides.
Once you’re satisfied with the positioning, carefully peel off the backing paper and place the patches back in position.
Double-check the alignment before moving on to the next step of applying heat and pressure. Properly positioned patches will enhance the vintage aesthetic of your outfit.
Applying Heat and Pressure
Now that you have positioned the iron-on patches to your liking, the next step is to apply heat and pressure to secure them onto your garment.
- Heat your iron: Make sure to set your iron to the appropriate heat setting recommended for the fabric of your garment.
- Place a cloth over the patch: Place a thin cloth or a pressing cloth over the patch before applying the iron. This will protect the patch and your garment from direct heat.
- Apply pressure evenly: Press down firmly on the iron and hold it in place for about 10-15 seconds. Make sure to apply even pressure over the entire patch to ensure proper adhesion.
- Check the edges: Once you have applied heat and pressure, carefully lift a corner of the patch to see if it has adhered properly. If not, repeat the process until the patch is securely attached.
Cooling and Testing the Adhesion
Allow the iron-on patches to cool down for a few seconds after applying heat and pressure. Cooling helps in setting the adhesive properly and ensures a secure attachment to your garment. Once the patches have cooled, it’s important to test the adhesion to make sure they are firmly attached. Gently tug on the edges of the patch to see if it lifts; if it does, reapply heat and pressure to those areas.
To help you understand the process better, here is a table summarizing the steps for cooling and testing the adhesion of iron-on patches:
| Cooling and Testing Adhesion Steps | Description |
|---|---|
| 1. Allow patches to cool down | Give the patches a few seconds to cool |
| 2. Test adhesion by gently tugging | Check if the edges lift easily |
| 3. Reapply heat if needed | Apply heat and pressure to secure edges |
| 4. Ensure firm attachment | Proper adhesion prevents patch from lifting |
| 5. Enjoy your vintage-inspired outfit | Rock your new look with confidence |
Securing the Patches for Durability
After ensuring the firm attachment of your iron-on patches through proper cooling and testing of adhesion, the next step is to focus on securing the patches for long-lasting durability.
Here are some tips to make sure your patches stay in place:
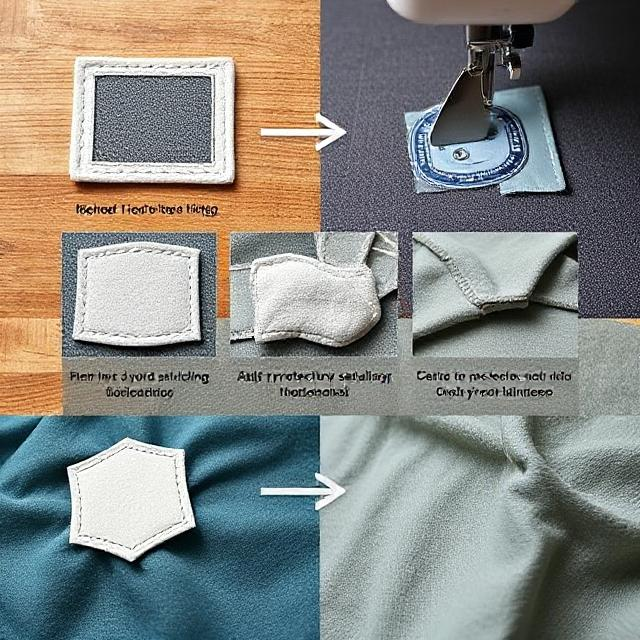
- Stitch Around the Edges: To reinforce the bond, use a needle and thread to stitch around the edges of the patch. This will provide extra security and prevent the patch from peeling off over time.
- Apply Fabric Glue: For an additional layer of protection, dab a small amount of fabric glue around the edges of the patch. This will help keep the patch in place, especially after multiple washes.
- Iron Over the Patch Again: After stitching and gluing, place a thin cloth over the patch and iron it again for a few seconds. This will help set everything in place and ensure a strong bond.
- Avoid Harsh Washing: To maintain the durability of your patched garment, avoid washing it in hot water or using harsh detergents that can weaken the adhesive.
Opt for gentle washing methods to preserve the patches for longer.
Adding Personal Touches With Patches
To infuse your outfits with a unique and personalized flair, incorporating iron-on patches allows you to express your individuality effortlessly. Adding personal touches with patches is a fun way to make a fashion statement that’s distinctly yours.
Choose patches that resonate with your interests, hobbies, or memories to create a look that reflects who you are. Whether it’s a favorite band, a quirky symbol, or a nostalgic image, the possibilities are endless.
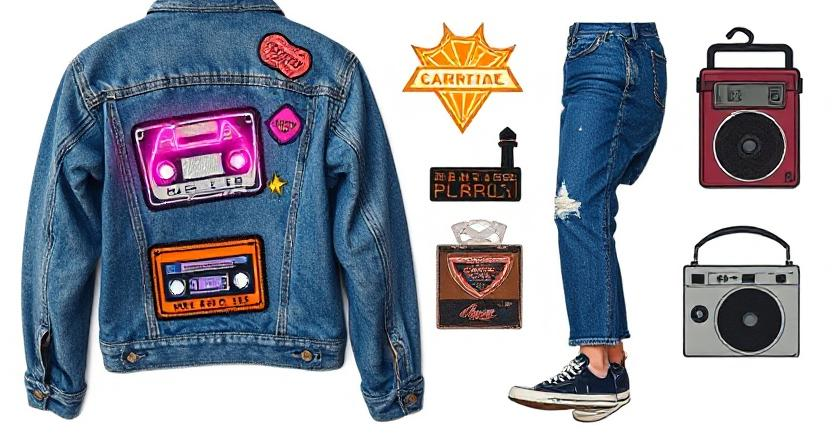
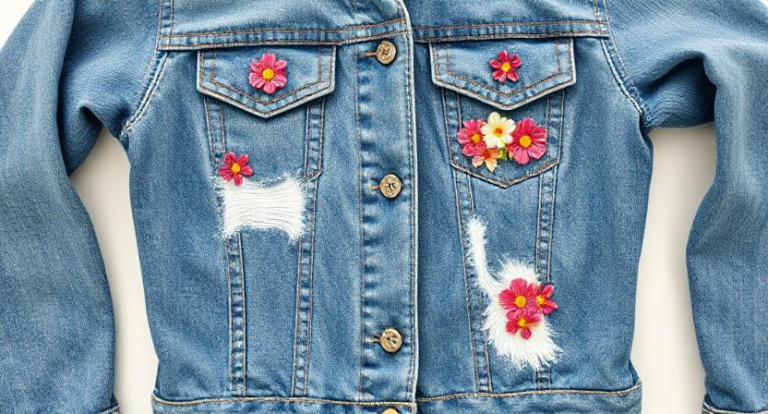
Consider strategically placing the patches on your clothing to enhance their impact. You could adorn a denim jacket with patches on the back and sleeves for a bold statement piece, or subtly embellish a pair of jeans with a few patches near the pockets for a more understated touch.
Mixing and matching different patch designs can also add depth and complexity to your outfit, showcasing your creativity and style.
Mixing and Matching Patch Designs
To enhance the visual appeal of your outfits with iron-on patches, exploring the art of mixing and matching patch designs can take your personalized style to the next level.
Here are some tips to help you master the art of combining patch designs:
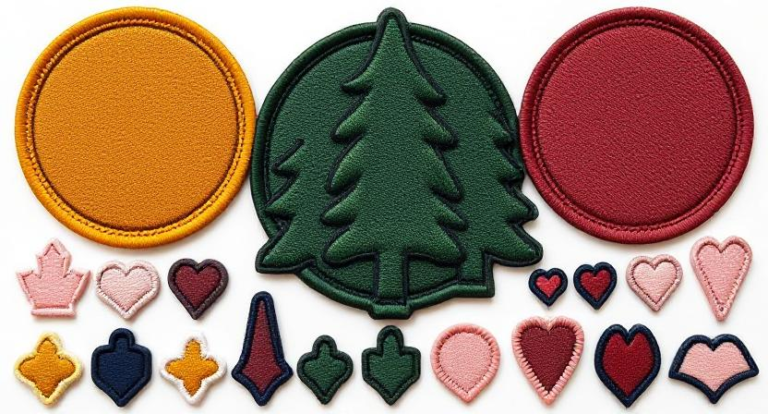
- Theme Consistency: Stick to a specific theme when mixing different patch designs. Whether it’s retro, floral, or pop culture-inspired patches, ensuring a cohesive theme will create a harmonious look.
- Vary Sizes: Experiment with patches of different sizes to add depth and visual interest to your outfit. Combining large statement patches with smaller ones can create a balanced and dynamic look.
- Color Coordination: Pay attention to color coordination when mixing and matching patch designs. Choose patches with complementary or matching colors to ensure a cohesive and polished appearance.
- Placement: Be creative with the placement of your patches. Mix patches on different areas of the garment, such as sleeves, pockets, or collars, to create a unique and personalized look.
Caring for Your Patched Garments
Proper care is essential to maintain the quality and longevity of your patched garments. When washing your patched outfits, turn them inside out before placing them in the washing machine. This will help protect the patches and prevent them from getting caught on other clothing items.
Opt for a gentle cycle with cold water to prevent the patches from loosening or peeling off. Avoid using harsh detergents or bleach, as these can damage both the fabric and the patches.
When it comes to drying your patched garments, air drying is the best option. Lay the clothing flat on a towel or drying rack to avoid stretching or misshaping the patches. Avoid using a dryer, as the heat can cause the patches to warp or detach.
Additionally, if you need to iron your patched garments, turn them inside out and use a low heat setting. Be careful not to directly iron over the patches to prevent any damage.
Styling Vintage Outfits With Patches
For a touch of retro charm and personalized flair, incorporating iron-on patches into your vintage outfits can elevate your style effortlessly. Here are four ways to style your vintage outfits with patches:
- Denim Delight: Add patches to your favorite denim jacket or jeans for a classic vintage look.
Mix and match different patch designs like flowers, animals, or retro logos to create a unique style that stands out.
- Accessorize Creatively: Apply patches to accessories like hats, bags, or even shoes to give them a vintage twist.
This small detail can make a big impact on your overall outfit.
- Patch It Up: Don’t be afraid to layer patches on top of each other for a playful and eclectic vibe.
Experiment with different placements and sizes to find a combination that speaks to your personal style.
- Mix and Match Eras: Combine vintage patches with modern pieces to create a timeless and chic outfit.
Pair a patched vintage denim jacket with a contemporary dress or trousers for a stylish contrast that celebrates the best of both worlds.
Frequently Asked Questions
Can Iron-On Patches Be Used on Delicate Fabrics Like Silk?
Yes, iron-on patches can be used on delicate fabrics like silk. Make sure to follow the instructions carefully, using a lower heat setting and a pressing cloth to protect the fabric. Test on a small area first.
How Long Should I Wait Before Washing a Garment With Iron-On Patches?
After applying iron-on patches, wait at least 24 hours before washing the garment. This gives the adhesive enough time to set properly. Avoid hot water or high dryer heat to ensure the patches remain securely attached for longer wear.
Can Iron-On Patches Be Removed and Repositioned Easily?
Yes, iron-on patches can be removed and repositioned easily. Simply apply heat with an iron to loosen the adhesive, then carefully peel off the patch. You can then reposition it and repeat the ironing process for a secure hold.
Are There Specific Washing Instructions for Garments With Patches?
When washing garments with patches, turn them inside out and use cold water. Avoid high heat from the dryer to prevent patches from loosening. Follow these steps to maintain the quality and longevity of your patched clothing.
Can Iron-On Patches Be Applied to Leather or Faux Leather Materials?
Yes, iron-on patches can be applied to leather or faux leather materials. Ensure the fabric can withstand the heat of the iron. Follow the patch instructions carefully for best results and longevity of the design.
Conclusion
Now that you’ve mastered the art of using iron-on patches to create vintage aesthetic outfits, the possibilities are endless. With the right patches, creative positioning, and proper care, you can express your unique style and love for retro fashion. So go ahead, mix and match those designs, add your personal touch, and rock your patched garments with confidence. Embrace the nostalgia and individuality that comes with creating vintage-inspired looks.

