How to Use Iron on Patches
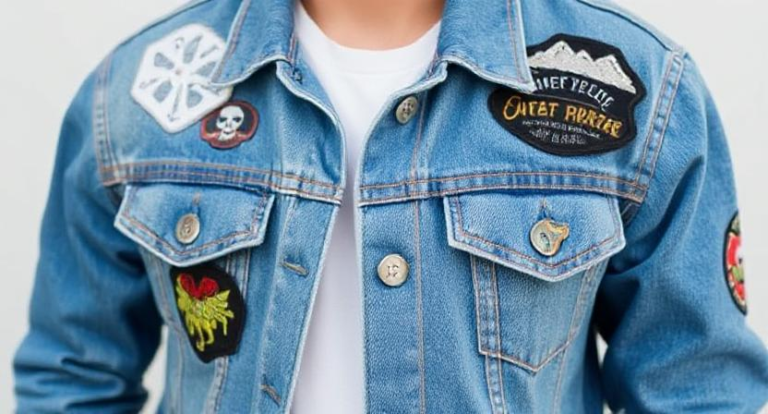
When it comes to using iron-on patches, ensuring a proper application is key to achieving a seamless and long-lasting result. But what happens if the patch starts to peel off prematurely or doesn’t adhere as expected? Understanding the nuances of ironing techniques and fabric compatibility plays a vital role in mastering the art of patch application. Stay tuned to discover the insider tips and tricks that can elevate your patch game from amateur to expert in no time.
Key Takeaways
- Choose a patch design that complements the garment.
- Prepare the fabric surface by ensuring it’s clean and dry.
- Position the patch accurately using measurements and markings.
- Protect the patch and fabric with a barrier cloth during ironing.
- Apply firm pressure with an iron, then check adhesion with peel and wash tests.
Choosing the Right Patch
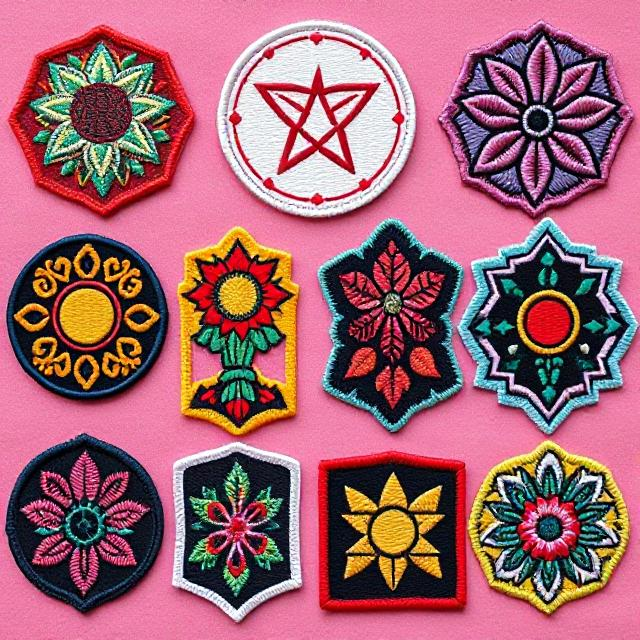
When selecting iron-on patches for your project, it’s crucial to consider the design, size, and material of the patch. The design of the patch should complement your garment or item.
Whether you prefer a quirky cartoon character, a bold logo, or a classic monogram, choose a design that resonates with you.
Ensure the patch size fits well on the intended area without looking too big or too small. Measure the space on your item before purchasing the patch to avoid any sizing issues.
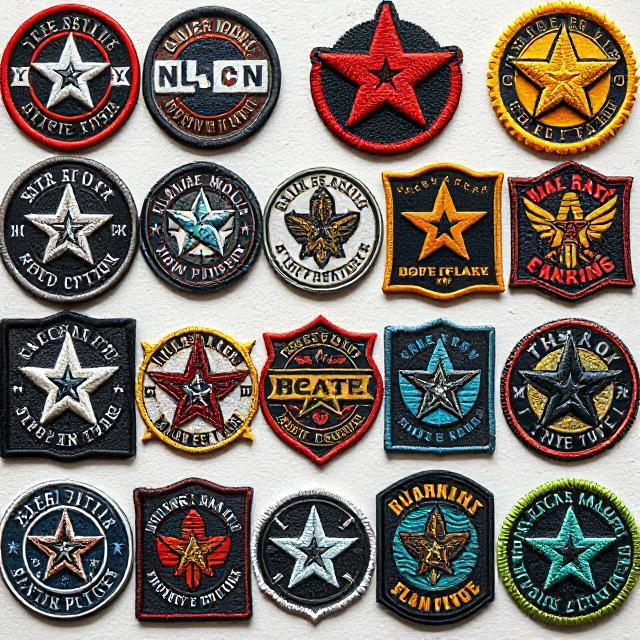
The material of the patch is also vital. Opt for a high-quality patch material that can withstand the heat of the iron and frequent washing. Common materials include cotton, polyester, and twill.
Cotton patches are soft and flexible, while polyester patches are durable and resistant to wrinkles. Twill patches offer a classic look and are often used for lettering or intricate designs.
Consider the color of the patch against the background fabric. A patch with contrasting colors can make it stand out, while a patch with similar colors can create a more subtle look.
Additionally, think about the overall aesthetic you want to achieve. Whether you aim for a vintage vibe, a modern edge, or a fun pop of color, the design, size, material, and color of the patch play a significant role in achieving your desired look.
Preparing the Fabric Surface
To ensure successful adhesion of the iron-on patch, you must first prepare the fabric surface properly. Begin by selecting a flat and sturdy surface to work on, like a table or ironing board.
Lay a clean cotton cloth over the area where you plan to apply the patch. This extra layer will protect your fabric from direct heat and prevent any accidental burns or damage.
Next, ensure that the fabric you’re attaching the patch to is clean and dry. Any dirt, dust, or moisture on the fabric can interfere with the adhesive properties of the patch.
If needed, give the fabric a gentle wash and let it air dry completely before proceeding. Avoid using fabric softener or dryer sheets as they can leave a residue that hinders adhesion.
If you’re working with delicate or heat-sensitive fabrics, such as silk or nylon, place a pressing cloth over the area before ironing. This will provide an extra layer of protection and prevent any damage to the fabric surface.
Positioning the Patch
Now, let’s focus on positioning the iron-on patch correctly. When it comes to placing the patch on your desired garment, precision is key to ensure a professional and long-lasting result.
Follow these simple steps to position the patch accurately:
Positioning the Patch
- Choose the Placement: Decide where you want the patch to be on your garment. Lay the garment flat on a table or ironing board to have a stable surface for application.
- Measure and Align: Use a ruler or measuring tape to center the patch correctly. Ensure it is straight and aligned with the seams or any other markings on the garment for symmetry.
- Mark the Position: You can lightly mark the edges of the patch with a fabric pen or chalk to have a guide for ironing. This step helps to prevent the patch from shifting during the ironing process.
- Check the Placement: Before ironing, double-check the positioning of the patch to make sure it is exactly where you want it. Once you are satisfied with the placement, you are ready to move on to the next step.
| Positioning the Patch | |
|---|---|
| Choose the Placement | Measure and Align |
| Mark the Position | Check the Placement |
Protecting the Patch and Fabric
After positioning the iron-on patch accurately on your garment, the next step is to ensure the patch and fabric are adequately protected during the application process.
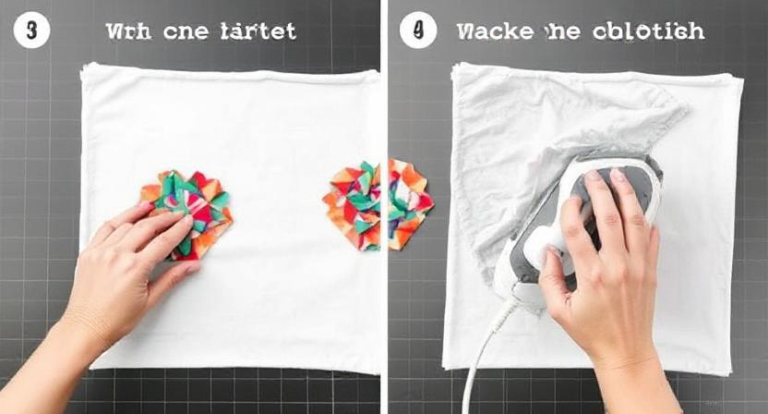
To protect both the patch and the fabric, place a thin cotton cloth over the patch before ironing. This cloth acts as a barrier between the hot iron and the patch, preventing direct contact that could potentially damage the patch or the fabric of your garment.
Using a cotton cloth is essential because it allows heat to pass through evenly while still protecting the patch. Avoid using synthetic fabrics or materials that might melt under the heat of the iron.
The cloth also prevents the iron from coming into direct contact with any embroidered or raised elements on the patch, reducing the risk of them getting flattened or distorted during the ironing process.
Ensure that the cloth covers the entire patch and extends slightly beyond its edges. This extra coverage helps distribute the heat evenly and protects the surrounding fabric from direct heat exposure.
Additionally, make sure the iron is set to the appropriate temperature recommended for the patch material to avoid overheating and causing damage.
By taking these precautions, you can protect both the patch and your garment while ensuring a successful application.
Ironing the Patch
With the iron heated to the appropriate temperature and the cotton cloth in place, you’re now ready to iron the patch onto your garment.
Place the garment on a hard, flat surface to ensure even pressure while ironing. Position the patch on the desired area of the garment, making sure it’s centered and aligned correctly.
Next, place the heated iron on top of the patch. Apply firm pressure for about 20-30 seconds. Be sure to press down on the iron rather than moving it back and forth, as this can cause the patch to shift out of place.
Check the edges of the patch to ensure they’re securely adhered to the fabric.
After the initial press, flip the garment inside out and iron the back of the patch for an additional 20-30 seconds. This step helps strengthen the bond between the patch and the fabric.
Once you have ironed both sides of the patch, allow it to cool completely before handling the garment. This cooling period is crucial for the adhesive to set properly.
Avoid washing or wearing the garment until the patch has completely cooled down.
Following these steps will ensure that your iron on patch is securely attached to your garment and ready to be displayed proudly.
Checking the Adhesion
To determine the effectiveness of the adhesion between the iron on patch and your garment, conduct a simple check after allowing the patch to cool.
After the patch has cooled down following the ironing process, gently try to peel off one corner of the patch.
If the patch lifts easily, it may not have adhered properly, and you’ll need to reapply heat to ensure a secure bond. Ensure that you wait for the patch to cool before attempting to reapply heat.
Another way to check the adhesion is to wash the garment. Turn the garment inside out and wash it according to the care instructions provided.
If the patch starts to peel off after washing, it indicates that the adhesion wasn’t successful. In this case, you may need to reapply the patch using the ironing method again.
If the patch passes both the peel test and the wash test, you can be confident that it has adhered properly to your garment.
Enjoy showing off your personalized and unique style with the securely attached iron on patch. Remember to always follow the specific instructions provided with the patches for best results.
Handling Delicate Fabrics
When dealing with delicate fabrics, such as silk or lace, extra care is essential to ensure the successful application of iron-on patches.
These fabrics require a gentle touch and specific techniques to prevent damage while still achieving a secure bond with the patch.
Here are some tips to help you handle delicate fabrics when applying iron-on patches:
- Low Heat Setting: Set your iron to the lowest heat setting suitable for the fabric. Delicate fabrics are more prone to heat damage, so it’s crucial to use minimal heat to avoid burning or scorching the material.
- Use a Pressing Cloth: Place a pressing cloth, like a thin cotton fabric or a piece of muslin, over the delicate fabric before ironing on the patch. This acts as a barrier between the iron and the delicate fabric, protecting it from direct heat exposure.
- Short Ironing Time: Limit the time you spend ironing the patch onto delicate fabrics. Excessive heat and prolonged ironing can cause the fabric to shrink, distort, or become discolored.
- Avoid Steam: Refrain from using steam when ironing delicate fabrics with iron-on patches. Steam can create excess moisture that might damage or warp the delicate material, leading to unwanted results.
Cleaning and Maintenance
When maintaining iron-on patches, it’s important to consider proper cleaning methods and routine care to preserve the patches and the garment.
To ensure the longevity of your patches, it’s recommended to follow specific guidelines.
Firstly, when washing garments with iron-on patches, turn them inside out before placing them in the washing machine.
This will help protect the patches from being damaged or coming off during the wash cycle. Additionally, opt for cold water and a gentle cycle to prevent excessive wear on both the patches and the fabric.
Avoid using bleach or harsh chemicals, as they can compromise the adhesive on the patches.
When it comes to drying your patched garments, air drying is the best option. Lay the garment flat on a clean surface to dry, as hanging it may cause the patches to stretch or detach.
Don’t tumble dry as the heat can loosen the adhesive.
Regular maintenance also plays a crucial role in preserving iron-on patches. Check the edges of the patches periodically for any signs of peeling or lifting.
If you notice any issues, promptly re-iron the patches following the original instructions.
Troubleshooting Tips
If you encounter any issues with your iron-on patches such as peeling, bubbling, or uneven adhesion, troubleshooting tips can help you address these concerns effectively.
Here are some steps to troubleshoot common problems:
- Peeling Patches: If your iron-on patch starts peeling off, place a thin piece of fabric over it and press down firmly with the iron for an additional 10-15 seconds. This will help the adhesive bond better with the fabric beneath.
- Bubbling Patches: To fix bubbling patches, carefully lift the edges of the patch with a fine-pointed object like a needle. Once lifted, re-iron the patch while applying pressure to the bubbled areas. Make sure to protect the patch with a cloth before ironing.
- Uneven Adhesion: In case of uneven adhesion, this can be due to the temperature of the iron not being consistent. Ensure your iron is set to the correct temperature recommended for the patch material and press down evenly on all areas of the patch.
- Patch Not Sticking: If the patch isn’t sticking properly, check if the fabric surface is clean and dry. You can also try using a stronger adhesive or re-ironing the patch with more pressure.
Customizing With Embroidery
Looking to add a personal touch to your iron-on patches? Customizing with embroidery is a fantastic way to elevate your patches and make them truly unique.
Embroidery allows you to add intricate details, vibrant colors, and a textured feel that can’t be achieved with just iron-on patches. Here’s how you can customize your patches with embroidery:
| Benefits of Embroidery | Tips for Embroidering Patches |
|---|---|
| Adds intricate details | Use a stabilizer to prevent fabric puckering |
| Vibrant colors | Choose high-quality embroidery thread for durability |
| Textured feel | Practice different stitches for varied textures |
Embroidering your iron-on patches gives you the freedom to let your creativity shine. You can outline shapes, add shading, or even write text to make your patches more personal.
To get started, sketch out your design on the patch and choose the embroidery stitches that best complement your vision.
Remember to secure the patch to a stable surface before embroidering to ensure a smooth process. Once you’ve finished embroidering, your patches will have a handmade charm that sets them apart.
Experiment with different embroidery techniques to create patches that reflect your unique style and personality.
Conclusion
Now that you know how to use iron-on patches effectively, you can easily add a touch of personal style to your clothing and accessories. Remember to choose the right patch, prepare the fabric surface properly, and follow the ironing instructions carefully. With a little practice and attention to detail, you’ll be able to create unique and customized pieces that showcase your individuality. Happy patching!
Frequently Asked Questions
Can Iron-On Patches Be Transferred to Leather or Suede Materials?
Yes, iron-on patches can be transferred to leather or suede materials. Ensure the patch is heat-safe for the specific material and follow the ironing instructions carefully. Use a pressing cloth to protect the fabric and apply even pressure.
Will Ironing a Patch Damage Delicate or Sheer Fabrics?
Ironing a patch on delicate or sheer fabrics can lead to damage. The heat may cause burns or discoloration. Be cautious and use a pressing cloth or test on a small area first to prevent harm.
Can I Remove an Iron-On Patch Once It’s Been Applied?
Yes, you can remove an iron-on patch once it’s been applied. Simply use a hot iron to loosen the adhesive, then carefully peel off the patch. Be cautious to avoid damaging the fabric underneath.
How Long Do Iron-On Patches Typically Last on Clothing?
Iron-on patches typically last on clothing for several washes and wearings. They adhere well if properly applied. Over time, they may start to peel or loosen. Regularly check and reinforce edges to prolong their lifespan.
Are Iron-On Patches Machine Washable and Dryer Safe?
Yes, iron-on patches are machine washable and dryer safe. Follow care instructions for best results. Avoid high heat settings. This helps patches stay vibrant longer. Remember to turn clothing inside out when washing to protect patches.


