How to Iron on Girl Scout Patches
So, you’ve got those Girl Scout patches ready to be ironed onto your uniform. Now, what’s the secret to ensuring they stay put through all your scouting adventures? Well, it’s all about the right technique and a bit of patience. But before we dive into the specifics, let’s talk about why this step is crucial for showcasing your accomplishments with pride. Let’s get started!
Key Takeaways
- Preheat iron for strong adhesion.
- Use pressing cloth for patch protection.
- Apply even pressure while ironing.
- Check adhesion post cooling.
- Let uniform cool for secure attachment.
Gather Necessary Materials
Wondering what you need to iron on those Girl Scout patches? To start off, you’ll require a few essential materials to ensure your patches are securely attached to your uniform.
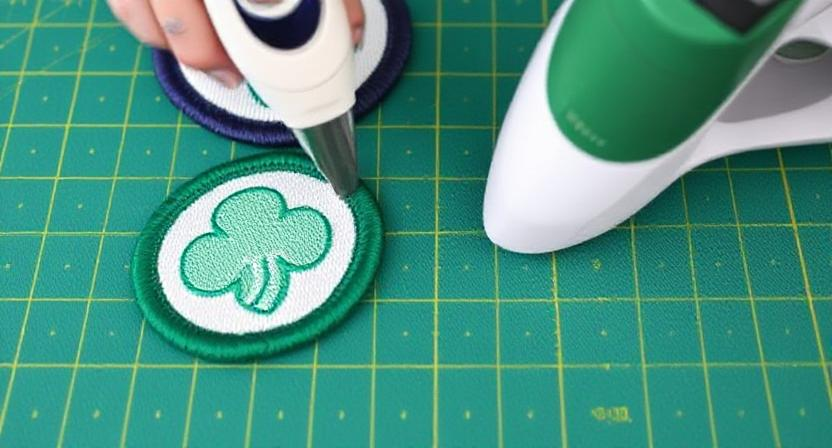
First and foremost, grab a clean, flat surface to work on, like an ironing board. This will provide a stable base for the ironing process.
Next, you’ll need an iron – make sure it’s set to the appropriate heat level for the fabric of your uniform to prevent any damage.
Additionally, you’ll need a damp cloth or a pressing cloth. This cloth will act as a protective barrier between the iron and the patch, preventing direct contact and reducing the risk of scorching or damaging the patch.
Another crucial item is a hard, heat-resistant surface such as a cutting board or a heat-resistant pad. Placing this beneath the fabric will ensure that the heat is evenly distributed during the ironing process, resulting in a well-adhered patch.
Lastly, don’t forget the Girl Scout patches themselves! Make sure you have the patches you want to attach neatly lined up and ready to go.
With these materials in hand, you’re all set to iron on those Girl Scout patches and proudly display your achievements.
Arrange Patches on Uniform
To successfully iron on your Girl Scout patches, the first step is to carefully arrange them on your uniform. Before you start ironing, lay out your uniform on a flat surface.
Take all the patches you plan to attach and position them on the uniform where you want them to be placed.
Remember to leave enough space between each patch to ensure they don’t overlap once ironed on. Here is an example of how you could arrange your patches on your uniform:
| Front of Uniform | Sleeve | Back of Uniform |
|---|---|---|
| Troop Number | World Crest | Council Patch |
| Journey Patch | American Flag | Fun Patches |
| Membership Pin | Cookie Sale Pin | Leadership Award |
Preheat the Iron
Before you begin ironing on your Girl Scout patches, it’s crucial to preheat the iron. This step ensures that the patches adhere properly to the fabric of your uniform, creating a secure and long-lasting bond.
Preheating the iron is a simple yet essential part of the process that can make a significant difference in the outcome of your patch application.
Here are a few reasons why preheating the iron is important:
- Efficiency: Preheating the iron allows it to reach the optimal temperature for adhering the patches quickly and effectively. This saves you time and ensures that the patches are applied evenly without any areas missed.
- Adhesion: By preheating the iron, you’re enhancing the adhesive properties of the patch, enabling it to bond securely to the fabric. This strong bond prevents the patch from peeling off easily, even after multiple washes.
- Professional Finish: A preheated iron helps create a clean and professional-looking finish to your Girl Scout patches. It ensures that the edges are crisp and the patch is smoothly attached to the uniform, giving it a polished appearance.
Place a Pressing Cloth
When ironing on Girl Scout patches, it’s essential to protect both the patches and the fabric of your uniform.
To ensure a successful application of the patches without damaging the fabric, using a pressing cloth is highly recommended.
A pressing cloth acts as a barrier between the iron and the patch, preventing direct contact that could potentially scorch or melt the patch or the fabric.
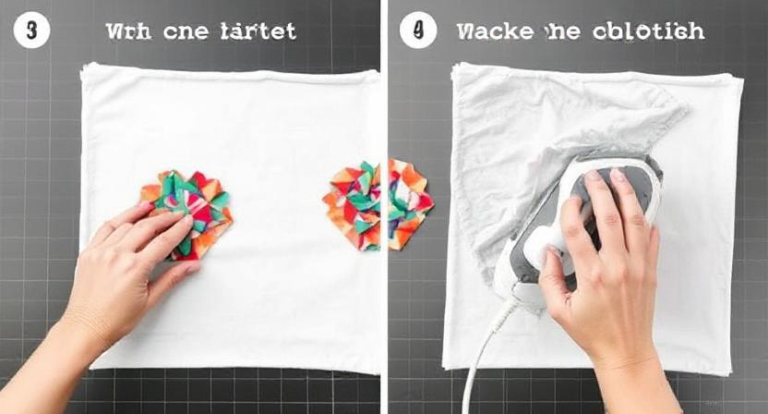
To place a pressing cloth, simply lay it over the patch before you start ironing. The pressing cloth can be a lightweight cotton cloth or a piece of muslin fabric.
Make sure the pressing cloth completely covers the patch to provide full protection. This extra layer will help distribute the heat evenly and prevent any direct heat damage, especially if your iron tends to get very hot.
Using a pressing cloth is particularly important when dealing with delicate fabrics or patches that have intricate designs or delicate embellishments.
It adds a level of security during the ironing process, ensuring that your patches are securely attached without causing any harm to the fabric or the patch itself.
Iron the Patches
Prepare your iron by setting it to the appropriate temperature based on the fabric of your uniform.
Once the iron is heated up, it’s time to start ironing on your Girl Scout patches. Here’s how you can do it effectively:
- Place the Patch: Lay the patch on the desired spot on your uniform. Make sure it’s centered and straight to give it a polished look once attached.
- Cover with a Pressing Cloth: To protect the patch and your uniform from direct heat, place a pressing cloth over the patch. This will prevent any accidental burns or damage to the patch or fabric.
- Apply Even Pressure: Press the iron firmly over the patch and pressing cloth. Move the iron around in circular motions for about 10-15 seconds to ensure that the patch adheres securely to the fabric.
Check Adhesion
To ensure the patches have properly adhered to your uniform, it’s important to check their adhesion. After you have finished ironing on the patches, wait for them to cool down completely before inspecting their adhesion.
Gently tug on the edges of each patch to see if any corners or sides are lifting. If the patch lifts easily, it may not have adhered properly.
Additionally, run your fingers over the entire patch to feel for any raised edges or bubbles, as these can indicate that the patch didn’t fully adhere to the fabric.
Another way to check adhesion is to carefully examine the edges of the patch. If you notice any areas where the patch isn’t laying flat against the fabric, it may require additional heat and pressure to properly adhere.
Checking the adhesion of your patches is crucial to ensure they’ll stay securely in place, especially through wear and tear.
Repeat if Needed
If you find that some of your girl scout patches haven’t fully adhered to the fabric after the initial ironing process, don’t worry.
It’s not uncommon for patches to require a second round of heat to secure them properly.
Here’s what you can do to ensure your patches are firmly attached to your uniform:
- Double-Check Placement: Before re-ironing the patches, take a moment to ensure they’re still in the correct position on your uniform. Adjust any patches that may have shifted during the initial ironing process to guarantee they’re exactly where you want them.
- Apply More Heat: When repeating the ironing process, make sure to use the same heat setting and time as recommended in the patch instructions. Applying consistent heat is crucial for the patches to adhere correctly to the fabric.
- Use a Press Cloth: To protect the patches and your uniform fabric during the second ironing, place a press cloth over the patches before applying heat. This extra layer will prevent any direct contact between the iron and the patches, ensuring a smooth and even application.
Let the Uniform Cool
Allow the uniform to cool naturally before handling it further. It’s crucial to let the fabric settle after ironing to ensure the patches adhere properly.
Resisting the temptation to touch the patches right away will help maintain their secure attachment to the uniform.
Once the ironing process is complete, find a flat surface to lay the uniform on and let it cool down for a few minutes.
To make sure you follow this step correctly, refer to the table below for a quick summary:
| Let the Uniform Cool |
|---|
| Lay uniform flat after ironing |
| Avoid touching patches immediately |
| Allow for natural cooling time |
| Ensure patches adhere properly |
| Patience is key |
Conclusion
Now your Girl Scout patches are securely ironed on and ready to be proudly displayed on your uniform. Remember to always follow the proper steps to ensure a neat and professional look. With these simple instructions, you can easily personalize your uniform with all your accomplishments and achievements. Keep up the good work and continue representing the Girl Scout values with pride!
Frequently Asked Questions
Can Patches Be Ironed Onto Non-Uniform Clothing?
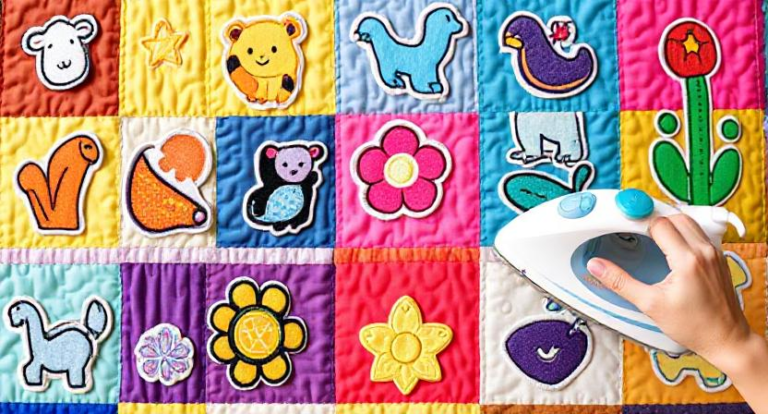
Yes, patches can be ironed onto non-uniform clothing. Make sure to follow the patch’s specific instructions for ironing. Position the patch, apply heat evenly with an iron, and hold it in place until secure. Enjoy your customized clothing!
Should Ironing Be Done on a Specific Surface?
You should always iron on a heat-resistant surface to prevent damage. Remember to use a pressing cloth if necessary. A proper surface ensures even heat distribution and protects both your clothing and iron.
Can Patches Be Ironed on Backpacks or Bags?
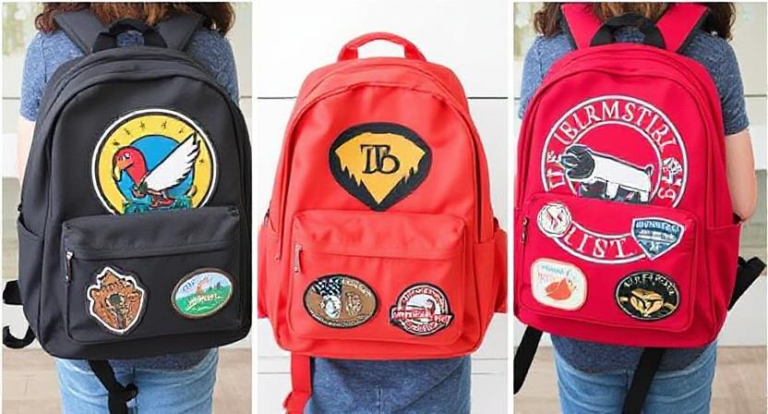
You can iron patches on backpacks or bags. Make sure to follow the instructions carefully. Place a cloth over the patch before ironing. Apply heat and pressure for a few seconds. Let it cool before checking the adherence.
How Do I Remove Old Patches From the Uniform?
To remove old patches from the uniform, gently peel them off using a fingernail or a seam ripper. Avoid tugging too hard to prevent damaging the fabric. Clean any adhesive residue with a mild solvent or soap and water.
Can Patches Be Washed After Ironing?
Yes, patches can be washed after ironing. Ensure they are securely attached before washing. Follow care instructions for both the patch and garment. This will help maintain the patches’ appearance and prevent them from coming loose in the wash.
